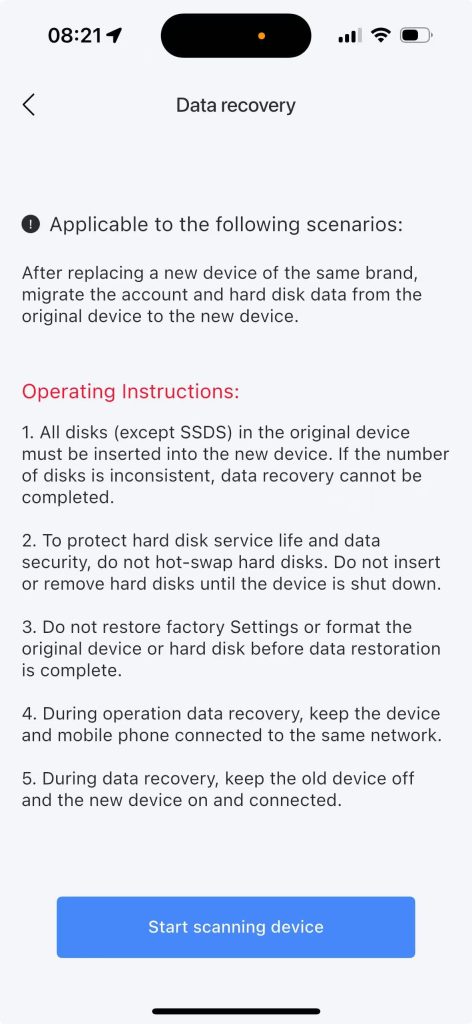
Applicable Scenario:
This procedure applies when replacing an existing device with a new one of the same brand, requiring migration of user accounts and hard disk data from the original device to the new device.
Operational Guidelines:
1. All hard drives (excluding SSDs) from the original device must be transferred to the new device. Inconsistent drive quantities will prevent successful data recovery.
2. To ensure data integrity and prolong drive lifespan, hot-swapping of hard drives is strictly prohibited. All drive insertion or removal must be performed only after the device is completely powered off.
3. Prior to completing data recovery, refrain from performing a factory reset or formatting either the original device or its hard drives.
4. Ensure that both the NAS device and the mobile device remain connected to the same network throughout the data recovery process.
5. During data recovery, keep the original device powered off, and avoid power interruptions or unplugging hard drives from the new device.
Purpose and Outcome:
This data recovery process is designed for users upgrading to a new NAS of the same brand by transferring hard drives from the original NAS. Upon completion, users can log in using their original account credentials, and all existing data and configurations will be preserved and fully accessible on the new system.
1.1 Data Recovery Method #
Step 1: Power off the original device, remove all hard drives from the original device and insert them into the new device.
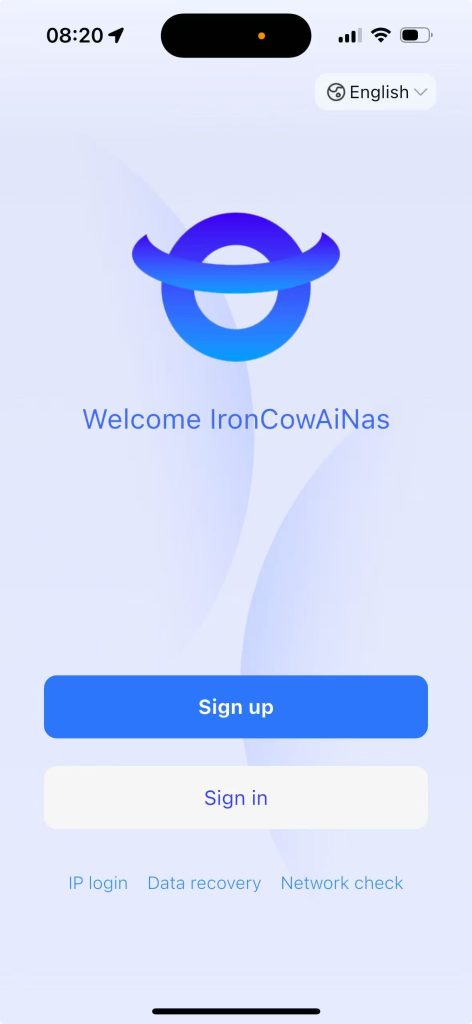
Step 2: After the new device is powered on, enter the APP home page – select “Data Recovery”.
Step 3: Click “Start Scanning Device”
Step 4: In the “Devices Found” list, locate the new device that shows “Data Recovery”.
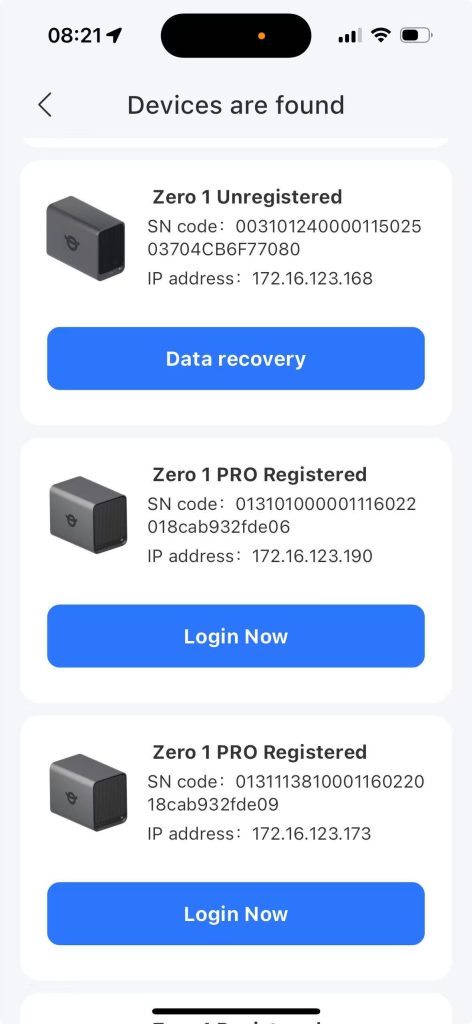
Step 5: Click “Data Recovery” to enter the “Start Data Recovery Page”
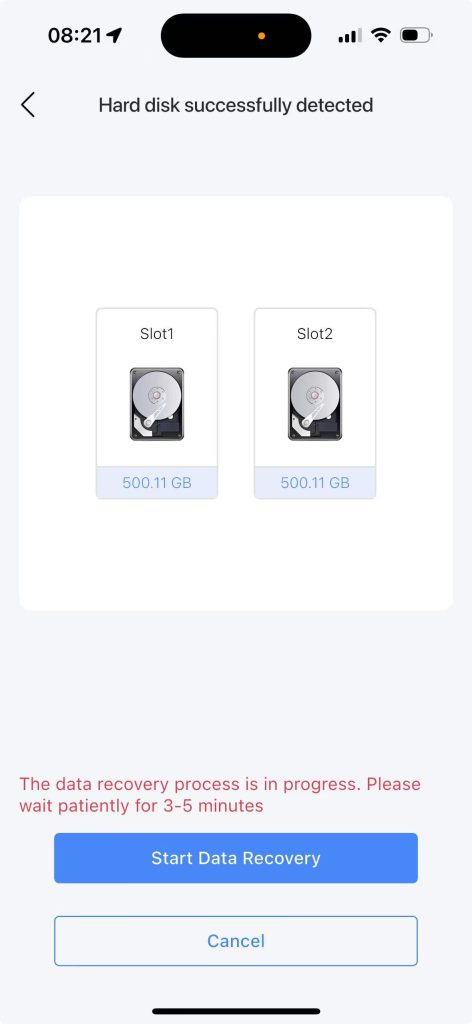
Step 6: Click “Start Data Recovery”, and a “Send Verification Code” page will pop up.
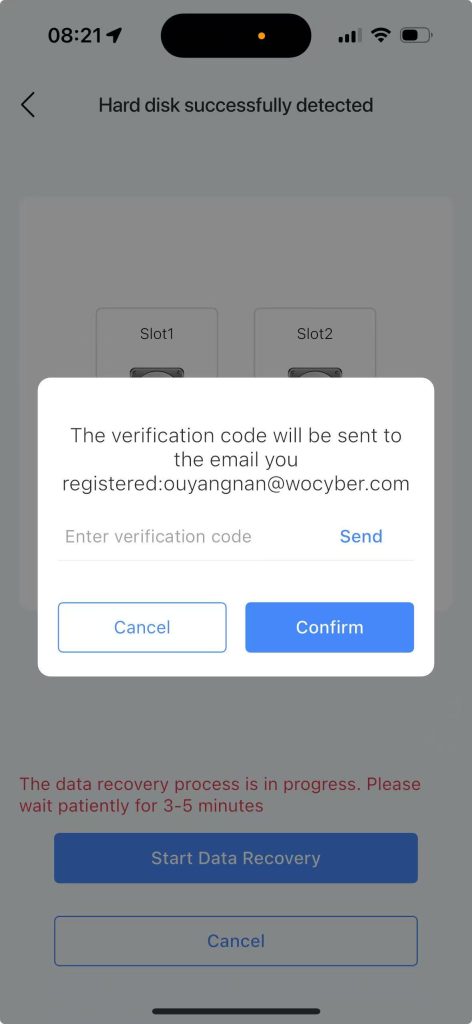
Step 7: Enter the verification code, click Confirm, and then it will show “Restoring device data…”
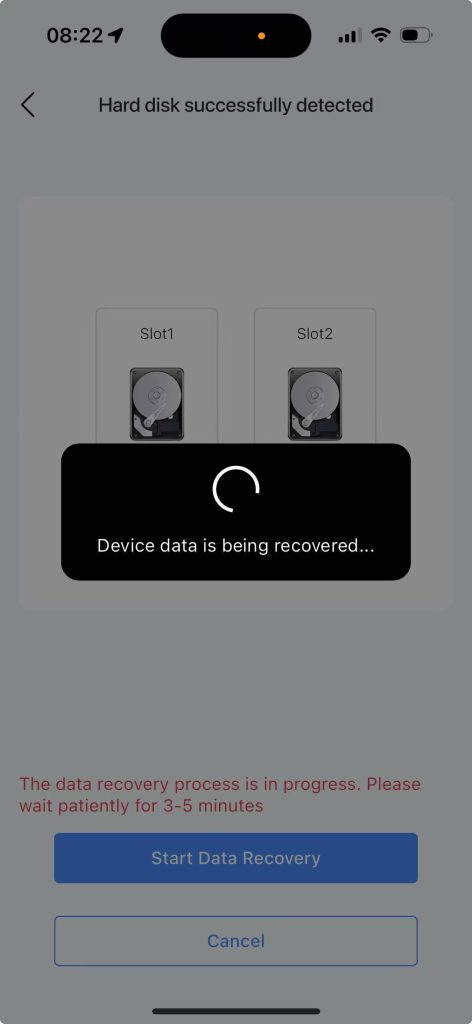
Step 8: Wait for 3 to 5 minutes and then a prompt will appear saying “All data has been restored.”
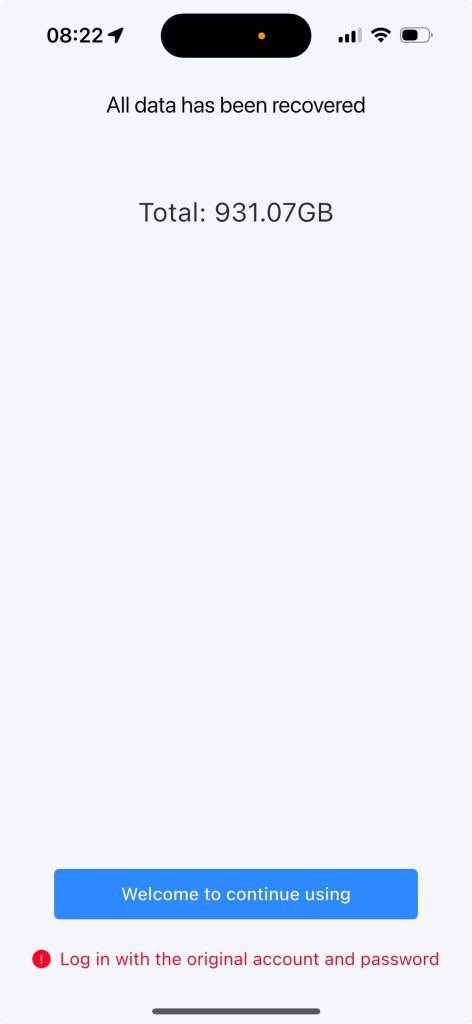
Step 9: Wait for 3 to 5 minutes until the prompt “All data has been restored” appears.
Step 10: Click “Welcome to continue using”, and enter the login page.
1.2 New Device Login for Data Recovery #
Step 1: Click “Welcome Back” or log in to the app again to enter the app login homepage.
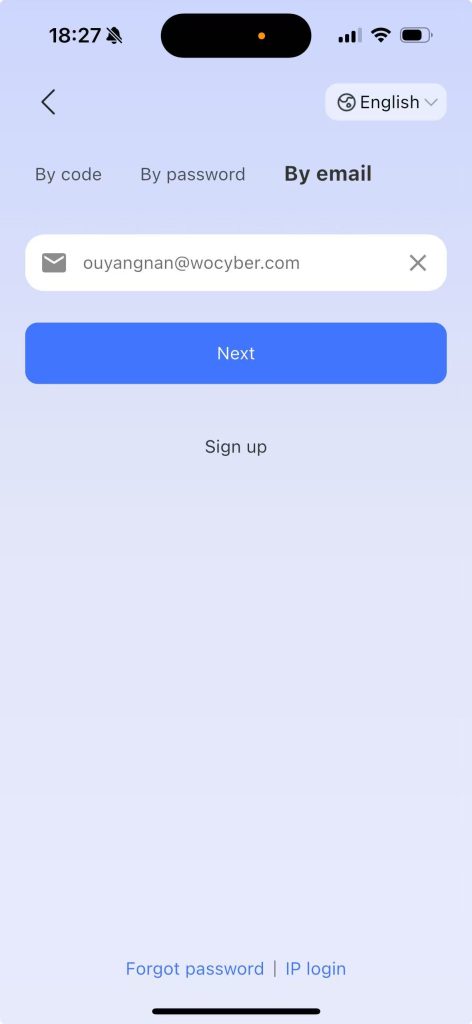
Step 2: Select “Mail Login”, enter the original account, and click “Next”.
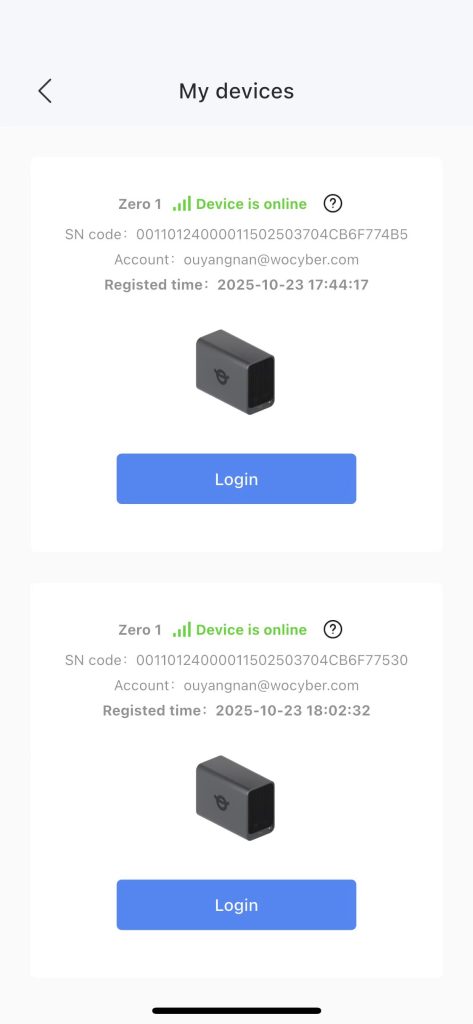
Step 3: On the “My Devices” page, select the device from which you want to restore data and click “Log In Now”.
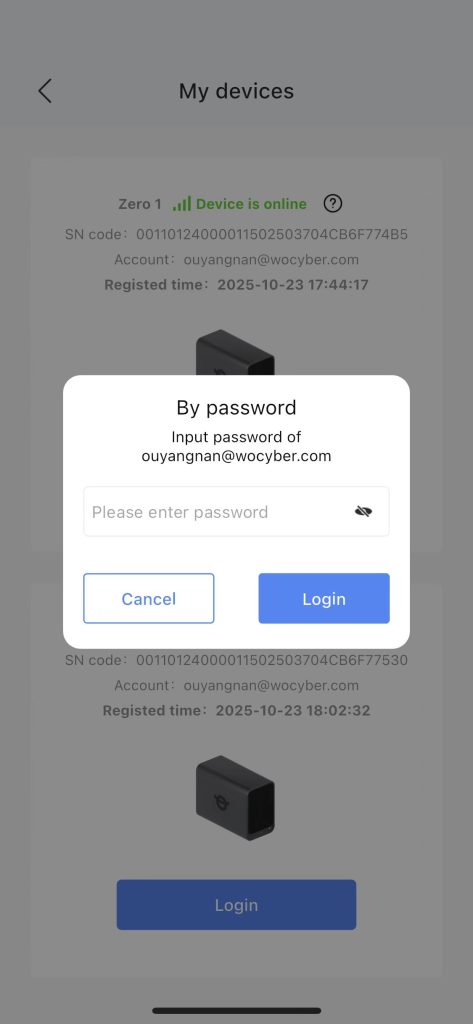
Step 4: Enter the original account password and click “Log In”. A page titled “Start Security Authentication” will pop up.
Step 5: Click “Start Security Authentication”, and a “SMS Verification Code” page will pop up.
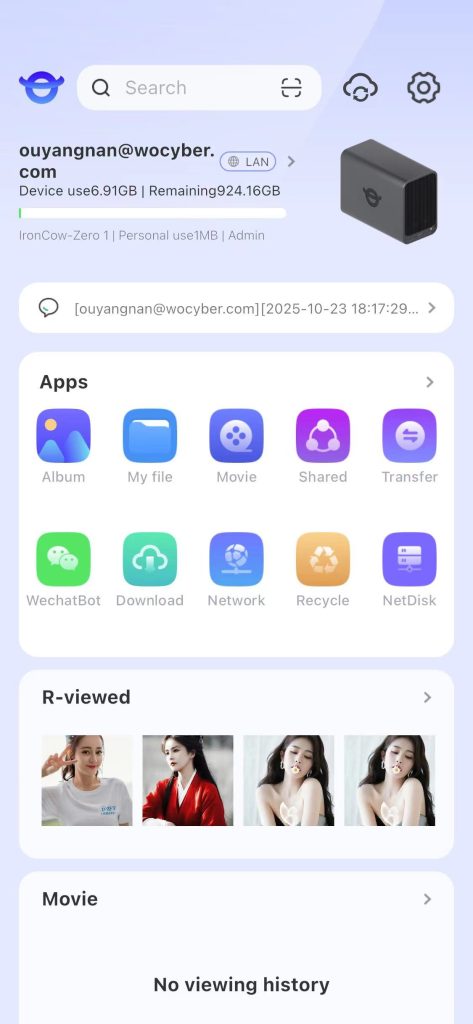
Step 6: Enter the verification code, click “OK”, and the device login is successful. The original device’s “924.16GB of data used” remains unchanged.