1. Basic File Management Functions #
The core functionalities include file and folder operations such as moving, copying, renaming, viewing properties, deletion, and access to the Recycle Bin.
1.1 Moving Files/Folders #
Move Instructions:
Files or folders can be moved to another directory within the device or to a directory on a connected USB peripheral device.
Note: Files or folders located on a USB peripheral device cannot be moved into directories on the device itself.
1.1.1 Moving a File to Another Directory on the Device #
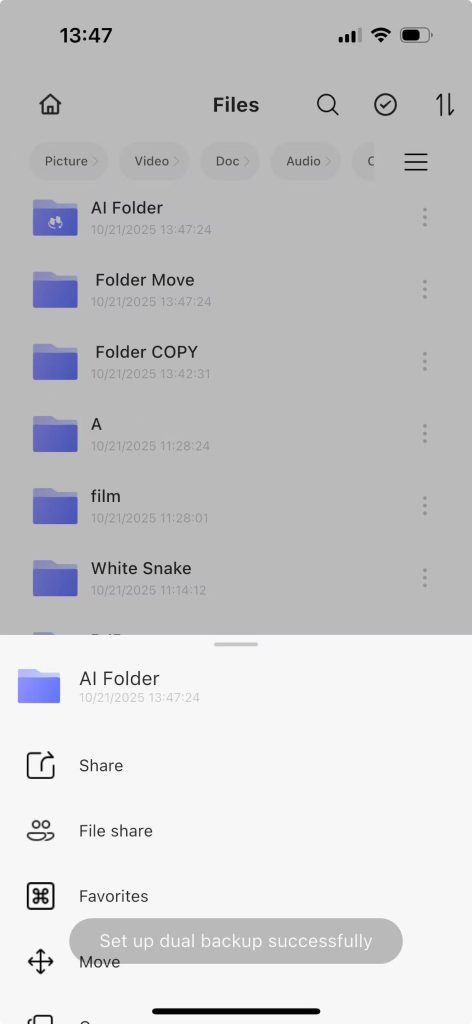
Step 1: From the APP home screen, navigate to File Management. Tap the 【…】 button adjacent to the target file to display the context menu, then select “Move”.

Step 2: Move to other directories on the device and a pop-up page for moving will appear.

Step 3: Click “Move” at the lower right corner, and a “Moving” page will pop up.
Move Cancellation: During the move operation, you can cancel it. After cancellation, only the files that have been moved successfully will be moved, while the files that have not been moved successfully will remain in the original directory.
Background Operation: The move operation will run in the background, allowing you to continue operating other pages.
Step 4: After the move is completed, a prompt will appear saying “Move successful”.

Note: After the move is completed, the files moved from the original directory will be moved to the new directory, and the files in the original directory will no longer exist.
1.1.2 Move a folder to another directory on the device #
Step 1: On the APP home page – File Management – Click the 【…】 button next to the folder, a pop-up operation menu will appear, select “Move”
Step 2: Move to other directories on the device and a pop-up page for moving will appear.

Step 3: Click “Move” at the lower right corner, and a “Moving” page will pop up.

Step 4: After the move is completed, a prompt saying “Move successful” will be displayed.
Note: After the move is completed, the folder that was moved from the original directory will be moved to the new directory, and the folder in the original directory will no longer exist.
1.1.3 Move files to the USB peripheral directory #
Step 1: The device has recognized the USB peripheral.
Step 2: On the home page of the APP – File Management – Click the 【…】 button next to the file, and a pop-up operation menu will appear. Select “Move”.

Step 3: Move to the USB peripheral directory and pop up the mobile page.
Step 4: Click “Move” at the lower right corner, and a “Moving” page will pop up.
Step 5: After the move is completed, a prompt will say “Move successful”.
Note: After the move is completed, the files moved from the original directory of the device will be moved to the USB peripheral directory, and the files in the original directory will no longer exist.
1.1.4 Move the folder to the USB peripheral directory #
Step 1: The device has recognized the USB peripheral.
Step 2: On the APP home page – File Management – Click the 【
…】button next to the folder, and select “Move” from the pop-up operation menu.
Step 3: Move to the USB peripheral directory and pop up the mobile page.

Step 4: Click “Move” at the lower right corner, and a “Moving” page will pop up.
Step 5: After the move is completed, a prompt will say “Move successful”.
Note: After the move is completed, the folder moved from the original directory of the device will be moved to the USB peripheral directory, and the original directory folder will no longer exist.
1.2 Copy Instructions: #
Move a folder or file to another directory on the device or to a USB peripheral directory.- Copy a file or folder from a USB peripheral device to a directory on the device.
1.2.1 Copying Files to Another Directory on the Device #
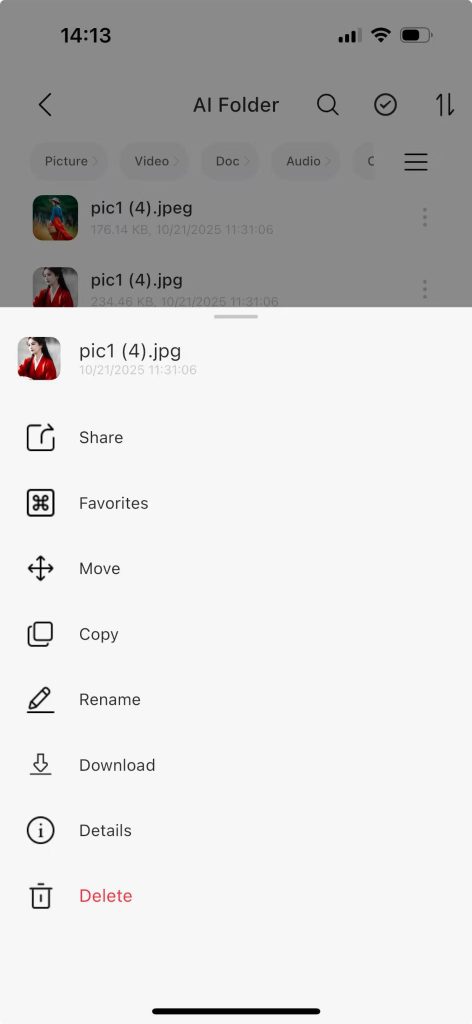
Step 1: From the APP home page, navigate to File Management. Click the 【…】 button adjacent to the desired file, then select “Copy” from the context menu that appears.
Step 2: Copy to other directories on the device, and a copy page will pop up.

Step 3: Click “Copy”, and a prompt saying “Copying in progress” will pop up.

Step 4: After the copy is completed, a prompt saying “Copy successful” will appear.
1.2.2 Copying a folder to another directory on the device #
Step 1: On the APP home page – File Management – Click the 【…】 button next to the folder, and in the pop-up operation menu, select “Copy”.
Step 2: Copy to other directories on the device, and a copy page will pop up.

Step 3: Click “Copy”, and a prompt saying “Copying in progress” will pop up.
Step 4: After the copy is completed, a prompt saying “Copy successful” will appear.
1.2.3 Copy files or folder to the USB peripheral directory #
Step 1: The device has recognized the USB peripheral.
Step 2: On the home page of the APP – File Management – Click the 【…】 button next to the file, and a pop-up operation menu will appear. Select “Copy”.
Step 3: Copy to the USB peripheral directory, and a copy page will pop up.
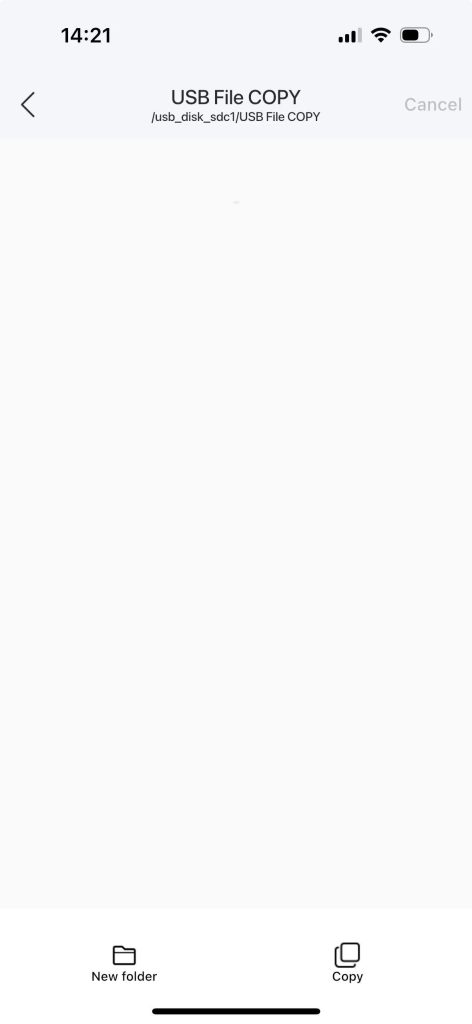
Step 4: Click “Copy”, and a prompt saying “Copying in progress” will pop up.
Step 5: After the copy is completed, a message saying “Copy successful” will be displayed.
1.3 File or Folder Renaming #
Note: Try to avoid special symbols in the new name.
Step 1: Home page of the APP – File Management – Click the 【…】 button next to the file, and select “Rename” from the pop-up operation menu.
Step 2: A “Rename” dialog box pops up. Enter the new name.
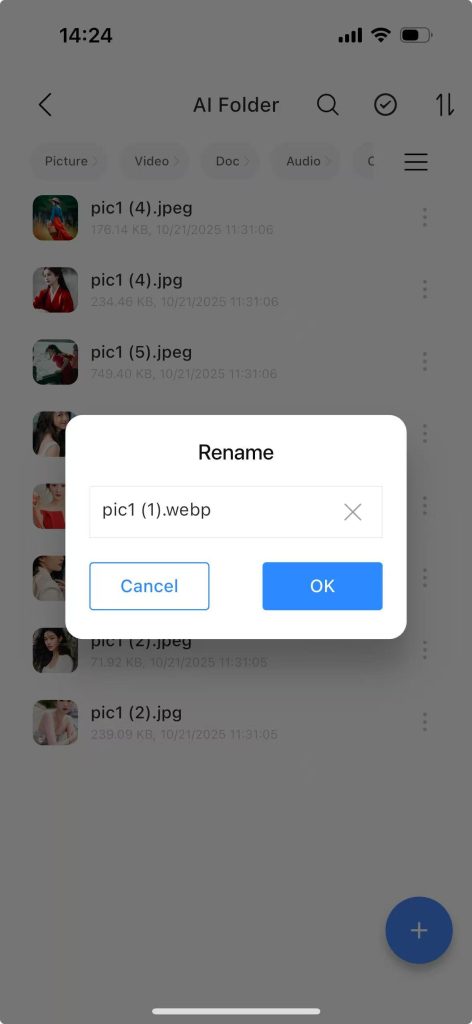
Step 3: After clicking “OK”, a prompt will appear saying “Rename successful”.
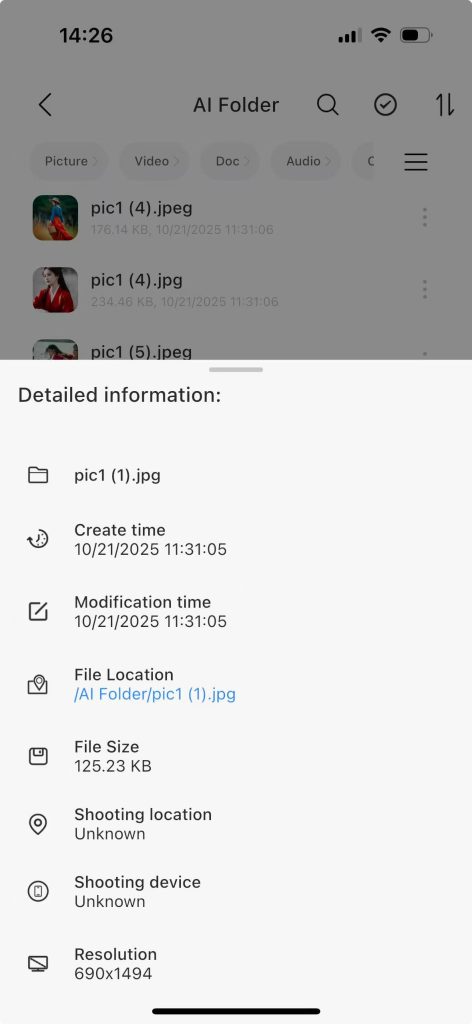
1.4 Picture Details #
You can view the creation time, modification time, file location, file size, and resolution.
Step 1: On the APP home page – File Management – Click the 【…】 button next to the picture, and a pop-up operation menu will appear. Select “Details”.
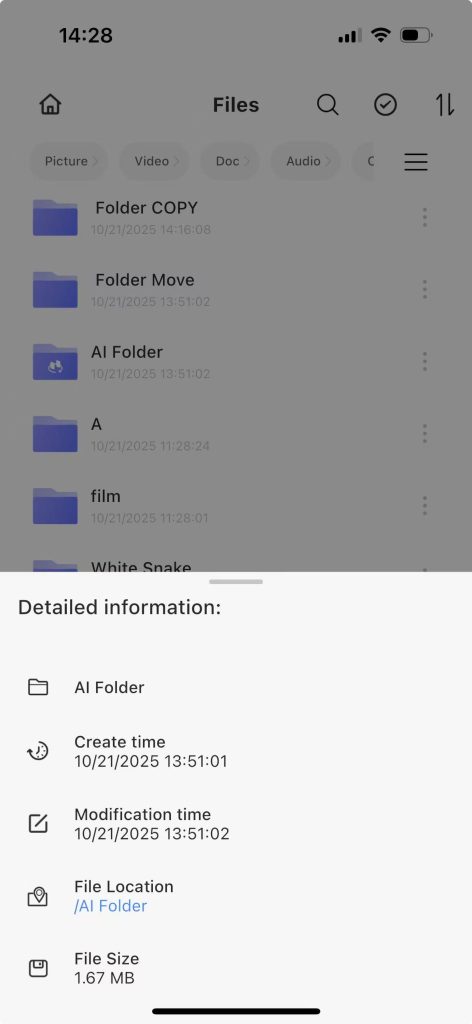
1.5 Folder Details
You can view the creation time, modification time, file location, and file size.
Step 1: On the APP home page – File Management – Click the 【…】 button next to the folder, and a pop-up operation menu will appear. Select “Details”. #
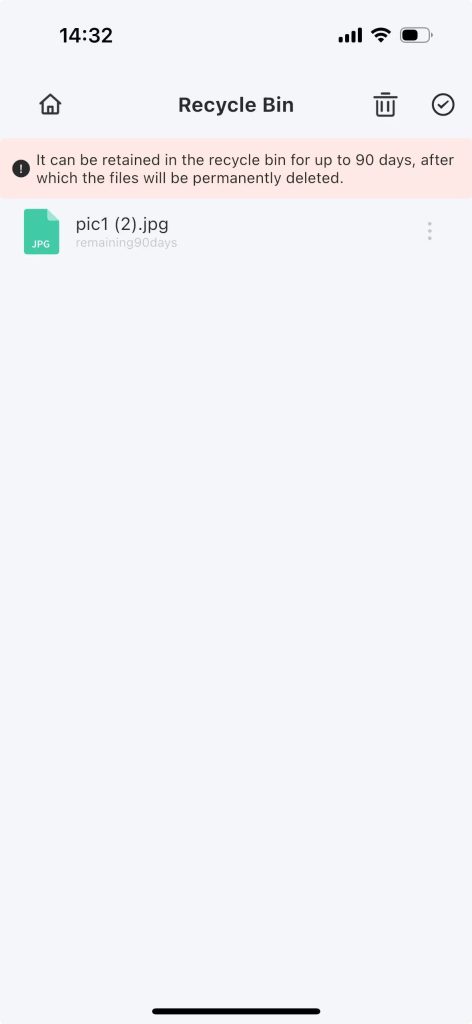
1.6 Delete Files #
When deleting a folder or file, it will be moved to the Recycle Bin. The Recycle Bin can retain items for 90 days and they can be restored.
Step 1: On the home page of the APP – File Management – Click the 【…】 button next to the folder/file, a pop-up operation menu will appear, select “Delete”.
Step 2: A “Confirm Deletion” prompt will pop up. Click “OK” to delete. If you want to restore the deleted file, you can do so within 90 days from the Recycle Bin.

1.7 Recycle Bin #
Function Description:
1. Restore(Click the 【…】 button next to the file, and a pop-up operation menu will appear. Select “Restore” from it.): Restore deleted files within 90 days
2. Empty Recycle Bin(Click the “Empty Recycle Bin” button on the upper right corner.): Emptying the bin will make the files unrecoverable

1.8 Sharing Management #
Step 1: Navigate to the Settings page from the app homepage.
Step 2: Access the “My Shares” section to view all files and photos that have been shared.
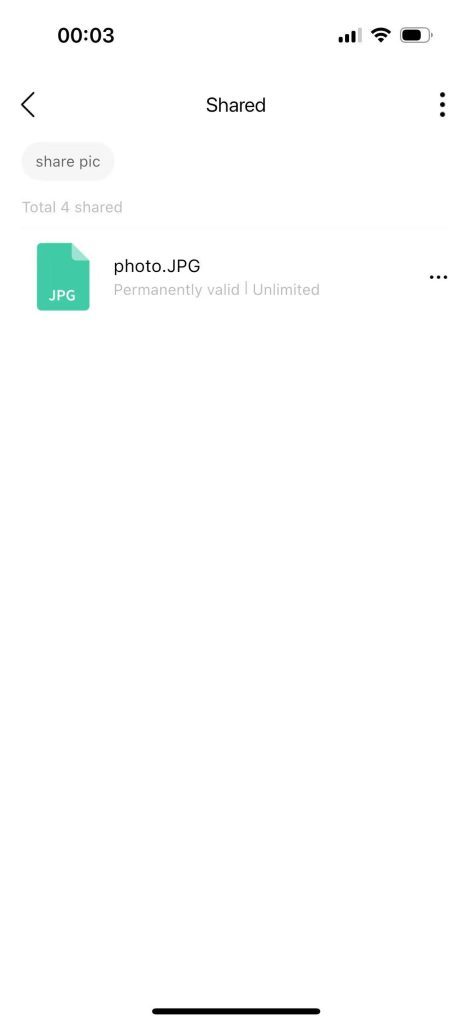
Step 3: Click the “three dots” button in the upper right corner.

- Clear all expired shares: All expired shared files will be deleted.
- Clear all cancelled shares: All cancelled shared files will be deleted.
- Cancel all unexpired shares: All unexpired shared files will be deleted.
- Manage share tags: Delete selected tags.


