1.1 Adding a hard disk to Zero1 in DFS Mode. #
The device does not support hot-swapping. Insert the unformatted new hard disk after the device is powered off.
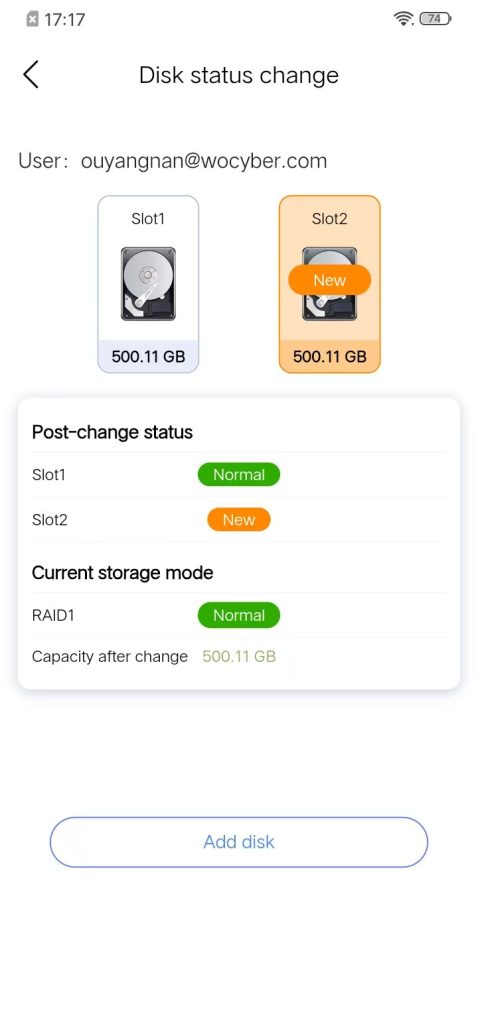
Step 1: Log in to the mobile app. A page indicating the change in hard disk status will pop up. At this time, the disk status light will flash slowly in red.
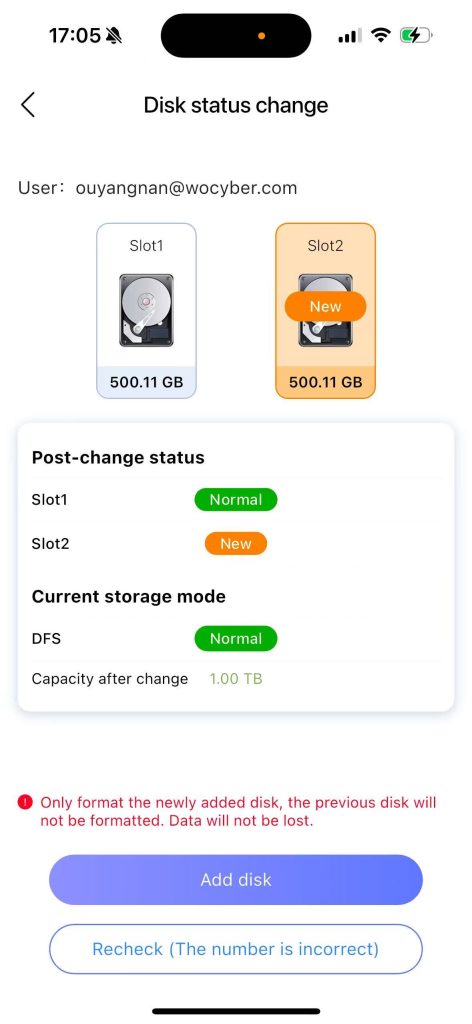
Step 2: Click “Add New Hard Disk”, and a password input box will pop up.

Step 3: After entering the password and clicking “Confirm”, the new hard drive will be formatted. The data on the remaining hard drives will be retained and not cleared.
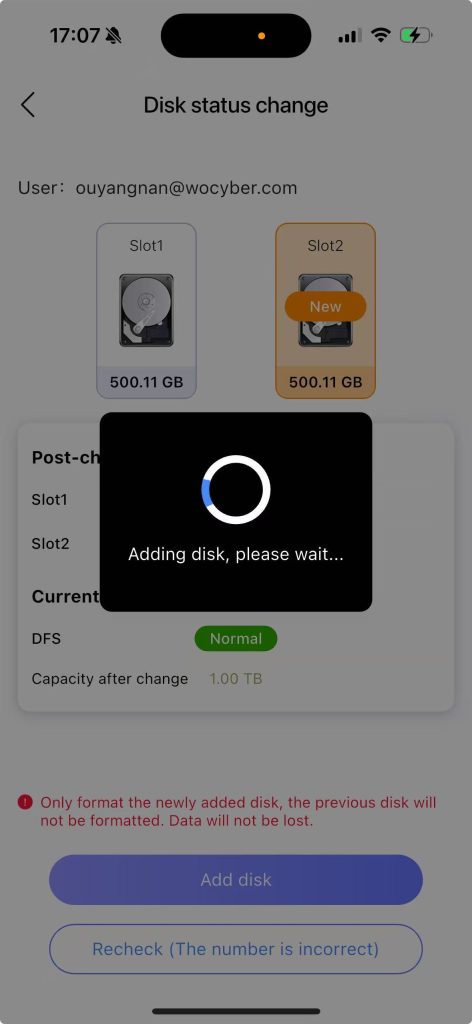
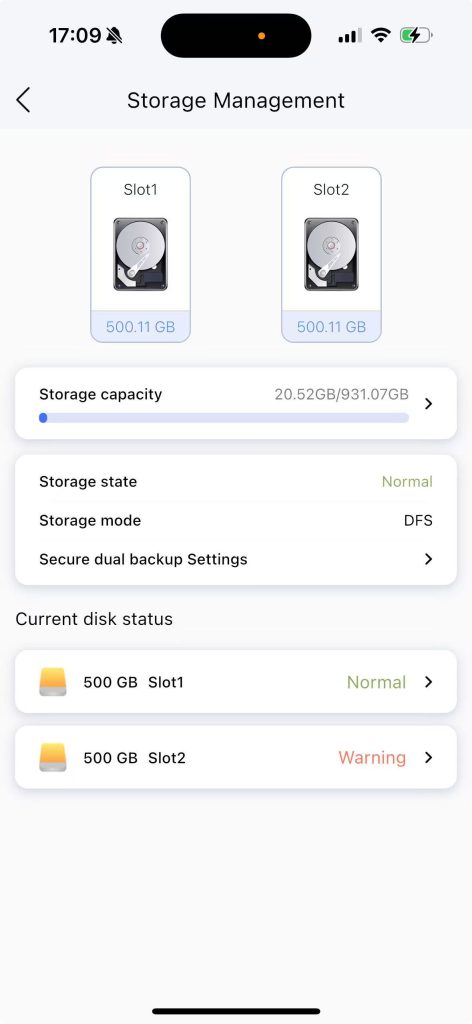
Step 4: After formatting is completed, the NAS will automatically restart. After the restart, the disk status light will change from slow red flashing to steady green, indicating successful addition of the disk.
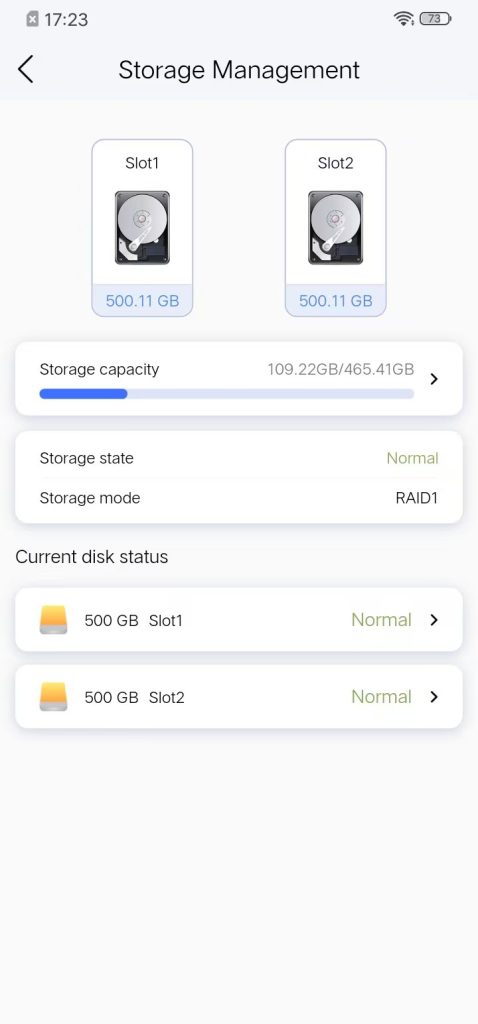
Step 5: Enter the storage management page and the new disk has been successfully added
1.2 Zero1 DFS Mode Disk Removal #
Step 1: Shut down the system, unplug the hard drive in slot 2, and then power on.
When logging into the APP, a page indicating the change in hard drive status will pop up, and the status light of disk 2 will flash slowly in red.
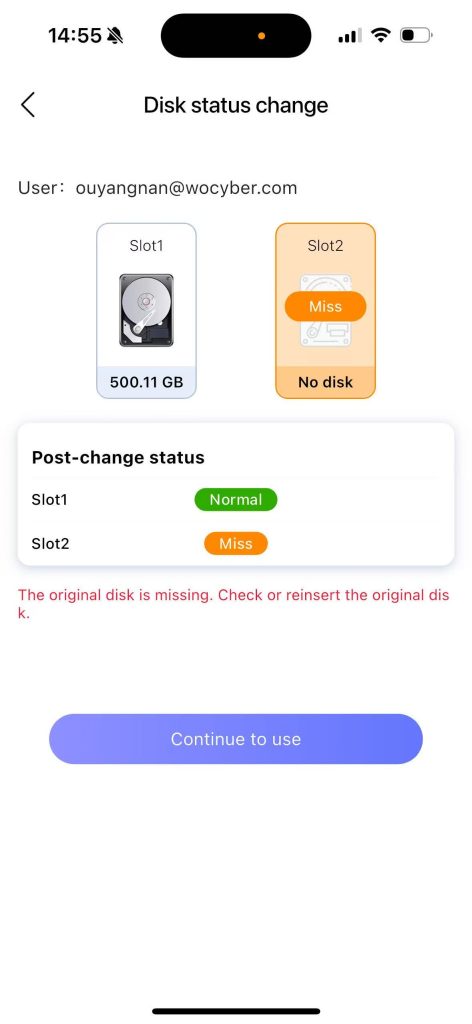
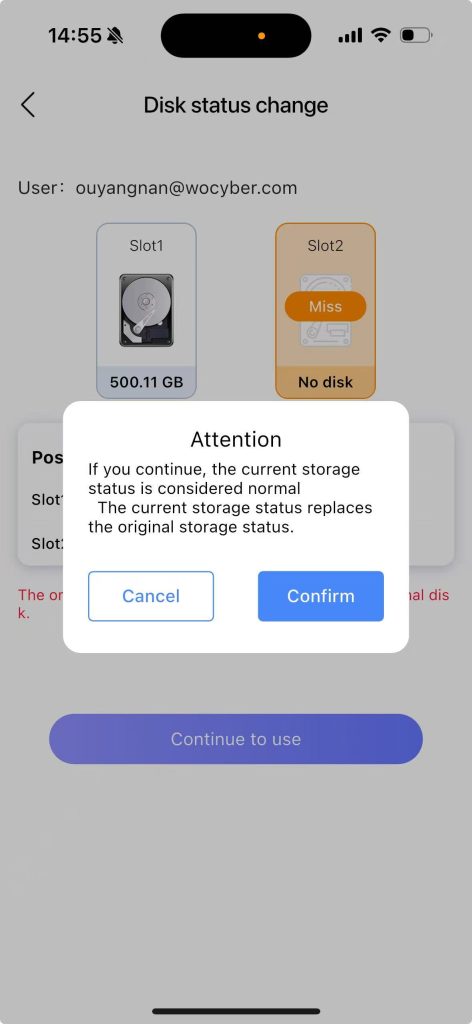
Step 2: Click “Continue to Use Normally”, and a “Important Notice” will pop up.

Step 3: After clicking “Confirm”, the ongoing disk reduction operation will be executed.

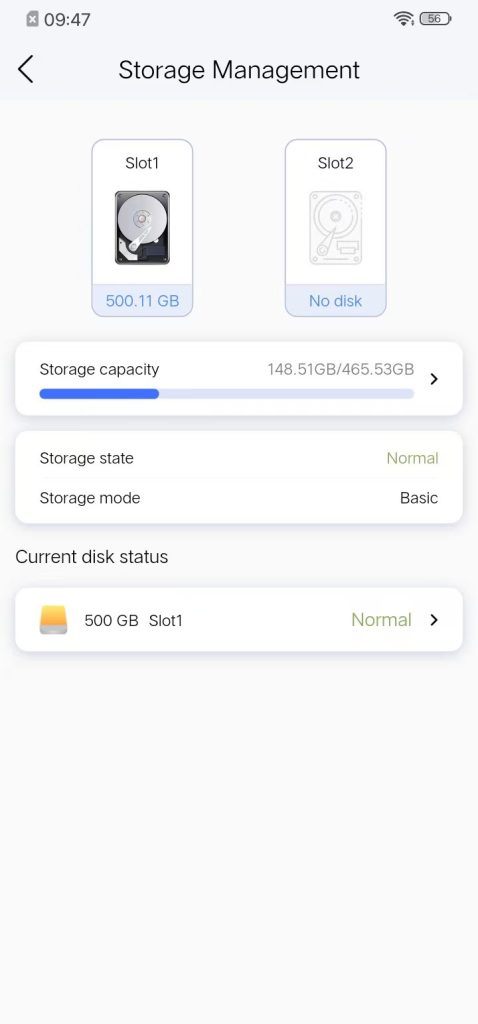
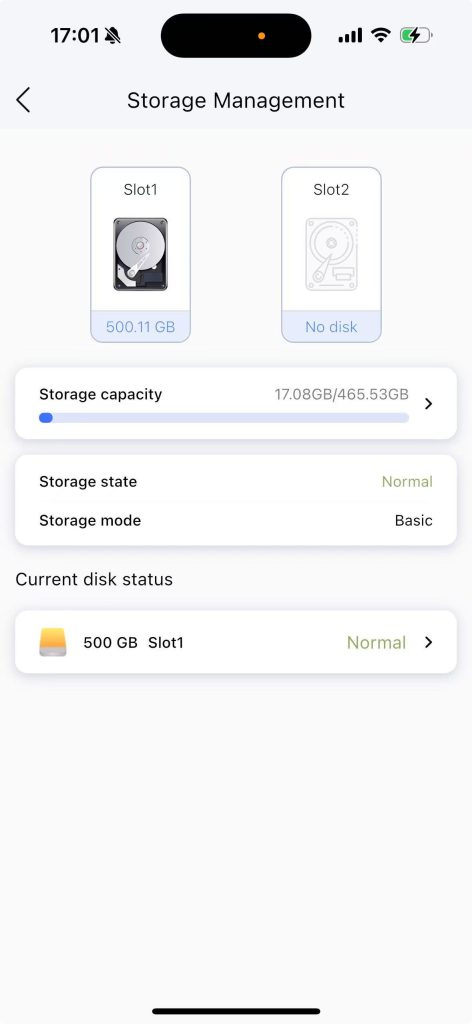
Step 4: After the disk reduction is completed, it automatically enters the “Storage Management” page. Disk bay 2 shows no disk and all data has been cleared.
1.3 Zero1 RAID1 Mode Disk Removal #
Step 1: Shut down the system, unplug the hard drive in slot 2, and then power on.
When logging into the APP, a page indicating the change in hard drive status will pop up, and the status light of disk 2 will flash slowly in red.

Step 2: Click “Continue to Use Normally”, and a “Important Notice” will pop up.
Step 3: After clicking “Confirm”, the ongoing disk reduction operation will be executed.

Step 4: After the disk reduction is completed, it automatically enters the “Storage Management” page. Disk bay 2 shows no disk and all data has been cleared.
1.4 Adding a hard disk to Zero1 in DFS Mode. #
The device does not support hot-swapping. Insert the unformatted new hard disk after the device is powered off.
Step 1: Log in to the mobile app. A page indicating the change in hard disk status will pop up. At this time, the disk status light will flash slowly in red.
Step 2: Click “Add New Hard Disk”, and a password input box will pop up.
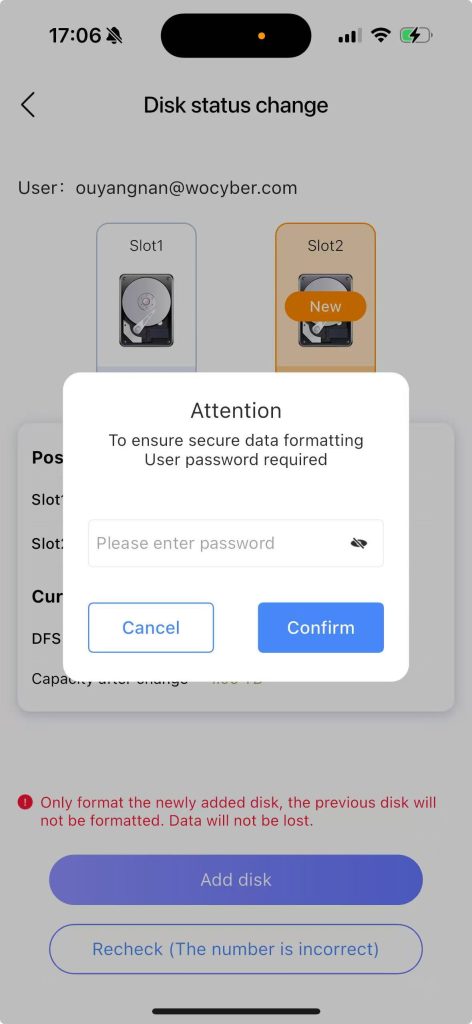
Step 3: After entering the password and clicking “Confirm”, the new hard drive will be formatted. The data on the remaining hard drives will be retained and not cleared.
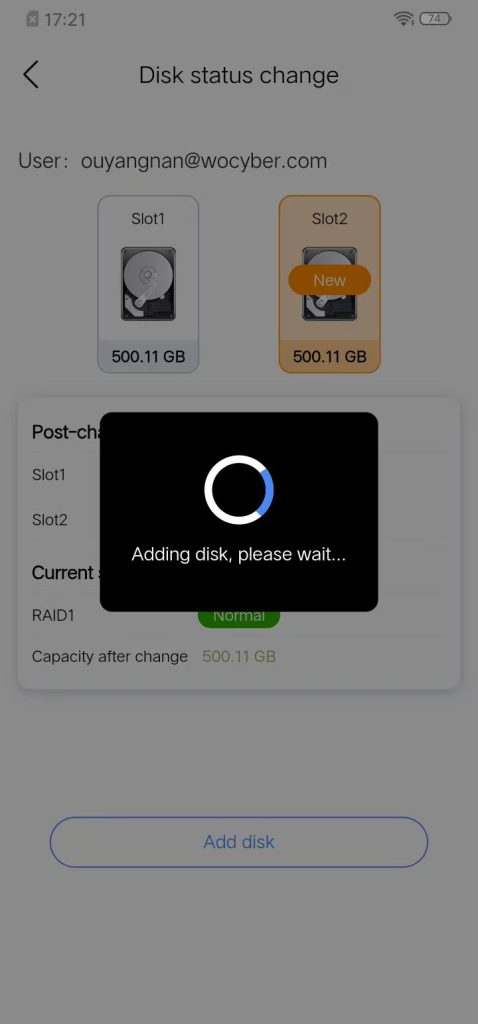
Step 4: After formatting is completed, the NAS will automatically restart. After the restart, the disk status light will change from slow red flashing to steady green, indicating successful addition of the disk.
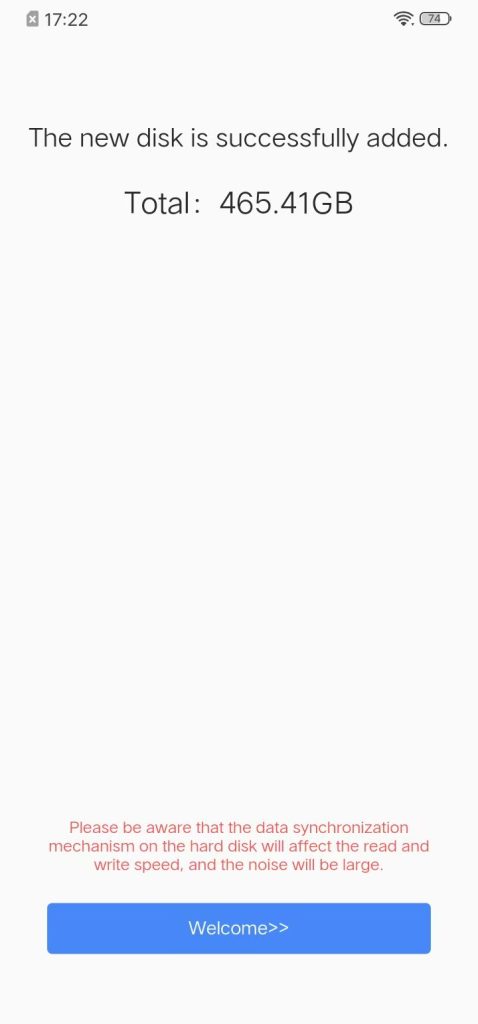
Step 5: Enter the storage management page and the new disk has been successfully added