1.Mobile Device Login Methods #
1.1手机端验证码登录 #
Verification Code Login via Mobile Device
Users can log in quickly via verification codes without entering a password when logging into the device.
Step 1: On the login page of the APP’s home screen – select “I already have an account”
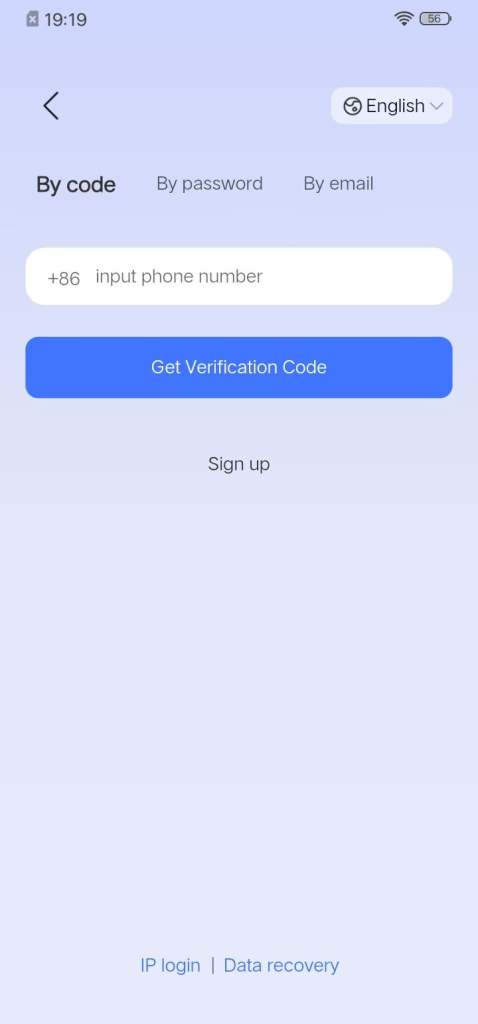
Step 2: Click on “Verification Code Login”, enter your mobile phone number, and click “Get Verification Code”.

Step 3: Enter the verification code, click “Confirm”, then go to the “My Devices” page, select the device and click “Log In Now”.
1.2 Mobile Password Login #
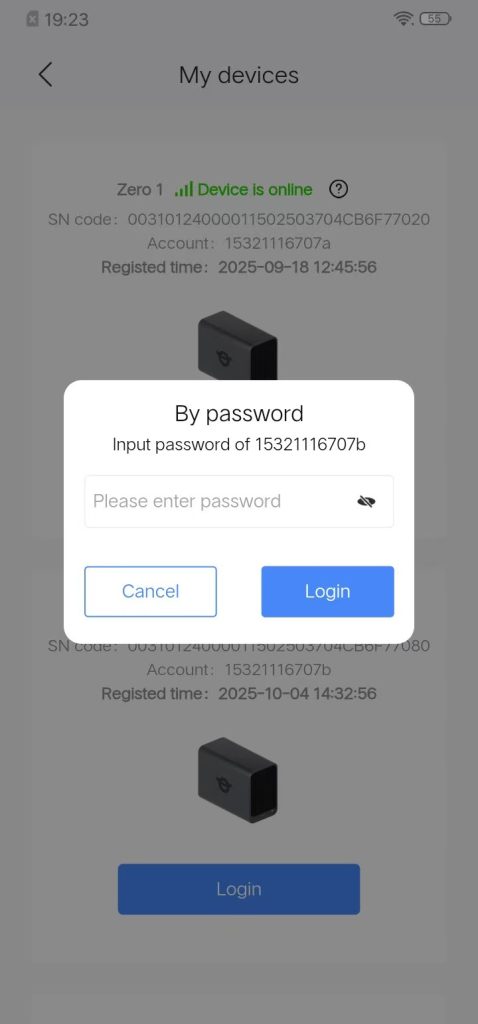
Users log in to the device by entering their username and password.
Step 1: On the login page of the APP home screen – select “I already have an account”
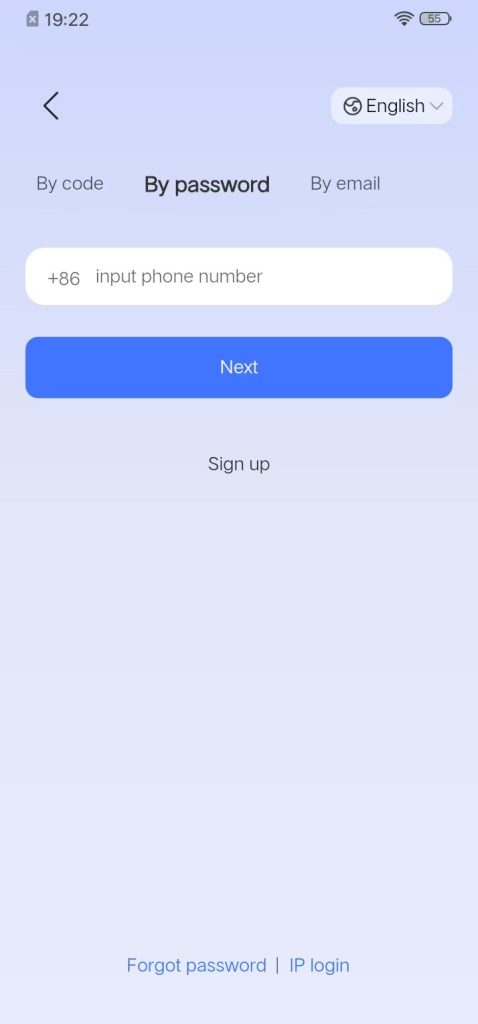
Step 2: Click “Password Login” – click “Next”
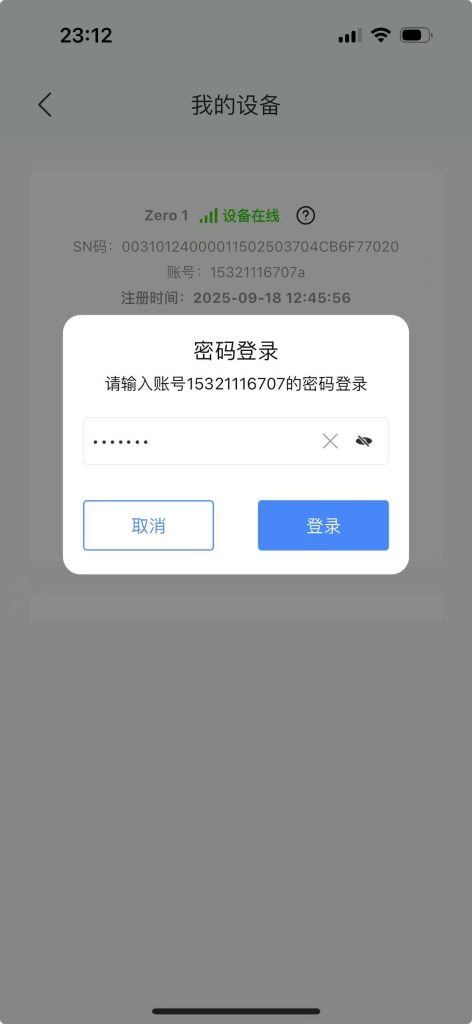
Step 3: A “Password Login” pop-up will appear. Enter your user password and click “Login” to log in to the device.
1.3 Email Login #
Step 1: On the login page of the APP’s home screen – select “Email Login”
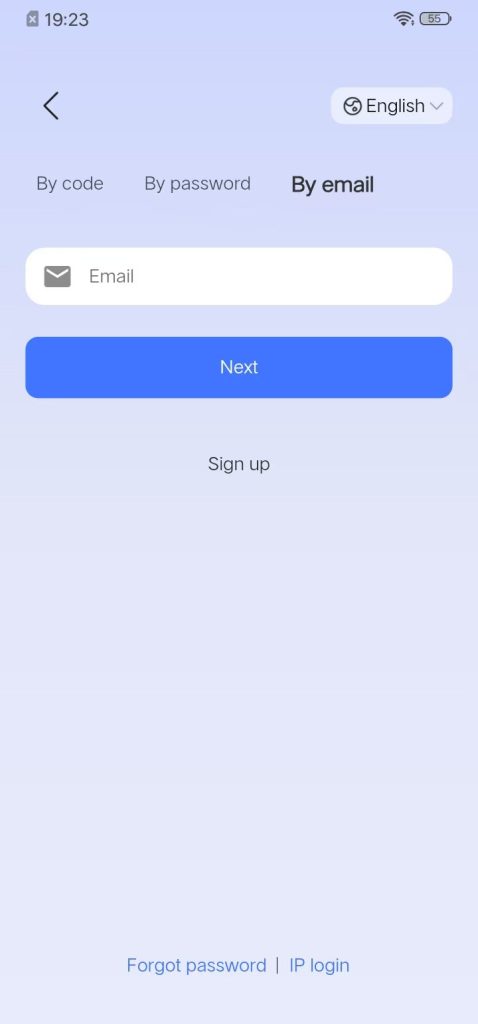
Step 2: After selecting the device and entering the email address, a “Password Login” prompt will pop up. Enter the password and click “Login”.
Step 3: On the login page of the APP’s home screen – select “Email Login”. For the first email login, a verification code is required.
Step 4: Enter the verification code and log in to the device successfully after confirmation.
2. Login Methods for PC #
2.1 Login with Verification Code on PC #
Step 1: Open the PC client – Enter the login homepage – Click “Login with Verification Code”
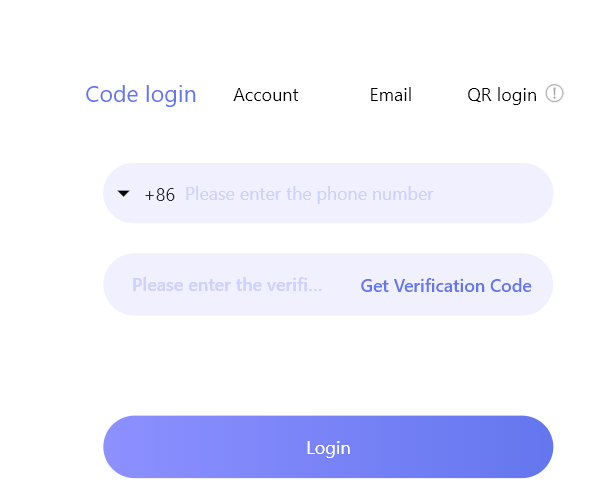
Step 2: Enter your mobile phone number and click “Get Verification Code”
Step 3: Enter the verification code, select the device, and click “Log In Now” to log in to the device
2.2 PC Password Login #
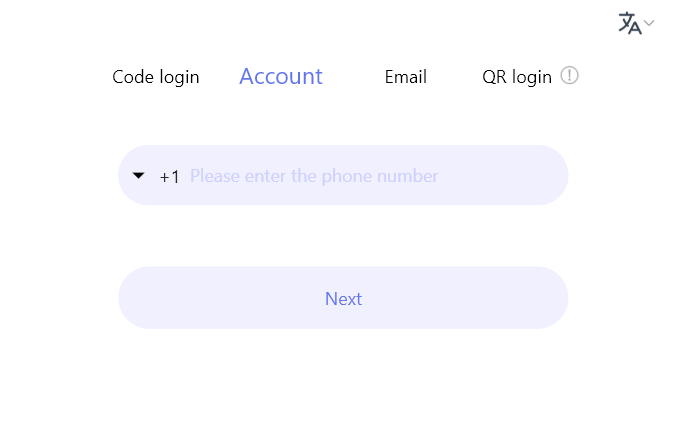
Step 2: Enter your mobile phone number and click “Next”.
Step 3: Go to the device selection page, choose your device, and click “Log In Now”.
Step 4: A “Password Login” page will pop up. Enter your password and click “Login” to log in to the device.
2.3 Email Login on PC #
Step 1: Open the PC client – Enter the login homepage – Click “Email Login”
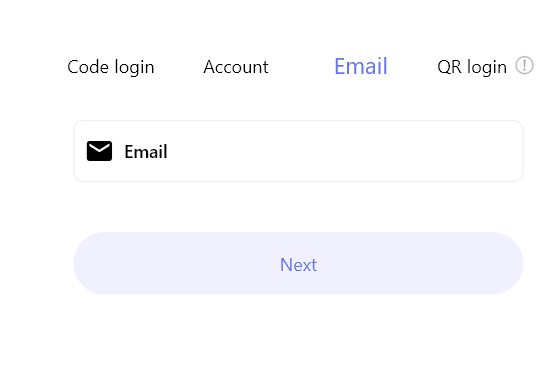
Step 2: Enter your email account and click Next.
Step 3: Select your device and click “Log In Now”.
Step 4: Click “Log In Now”
Step 5: Enter the password, click “Log In”, and the device will be successfully logged in.
2.4 Scan Code Login on PC #
步骤1:打开PC客户端-进入登录首页-点击“扫码登录”
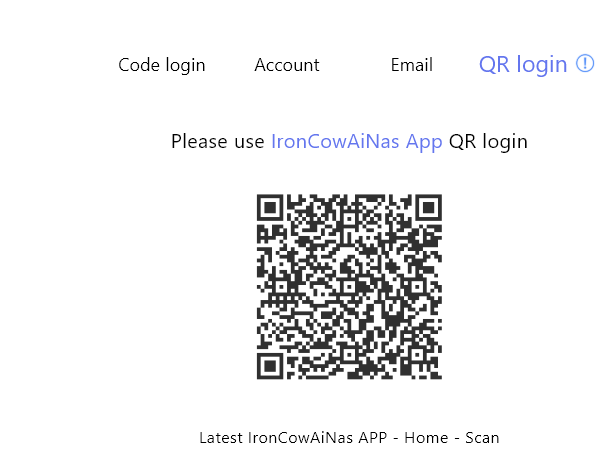
Step 1: Launch the PC client, navigate to the login homepage, and click “Scan Code Login”.
Step 2: Open the APP on your phone and go to the home page – there is a “Scan” icon on the search page.
Step 3: Scan the QR code on the login page with your mobile phone, and a “Login Confirmation” will pop up.
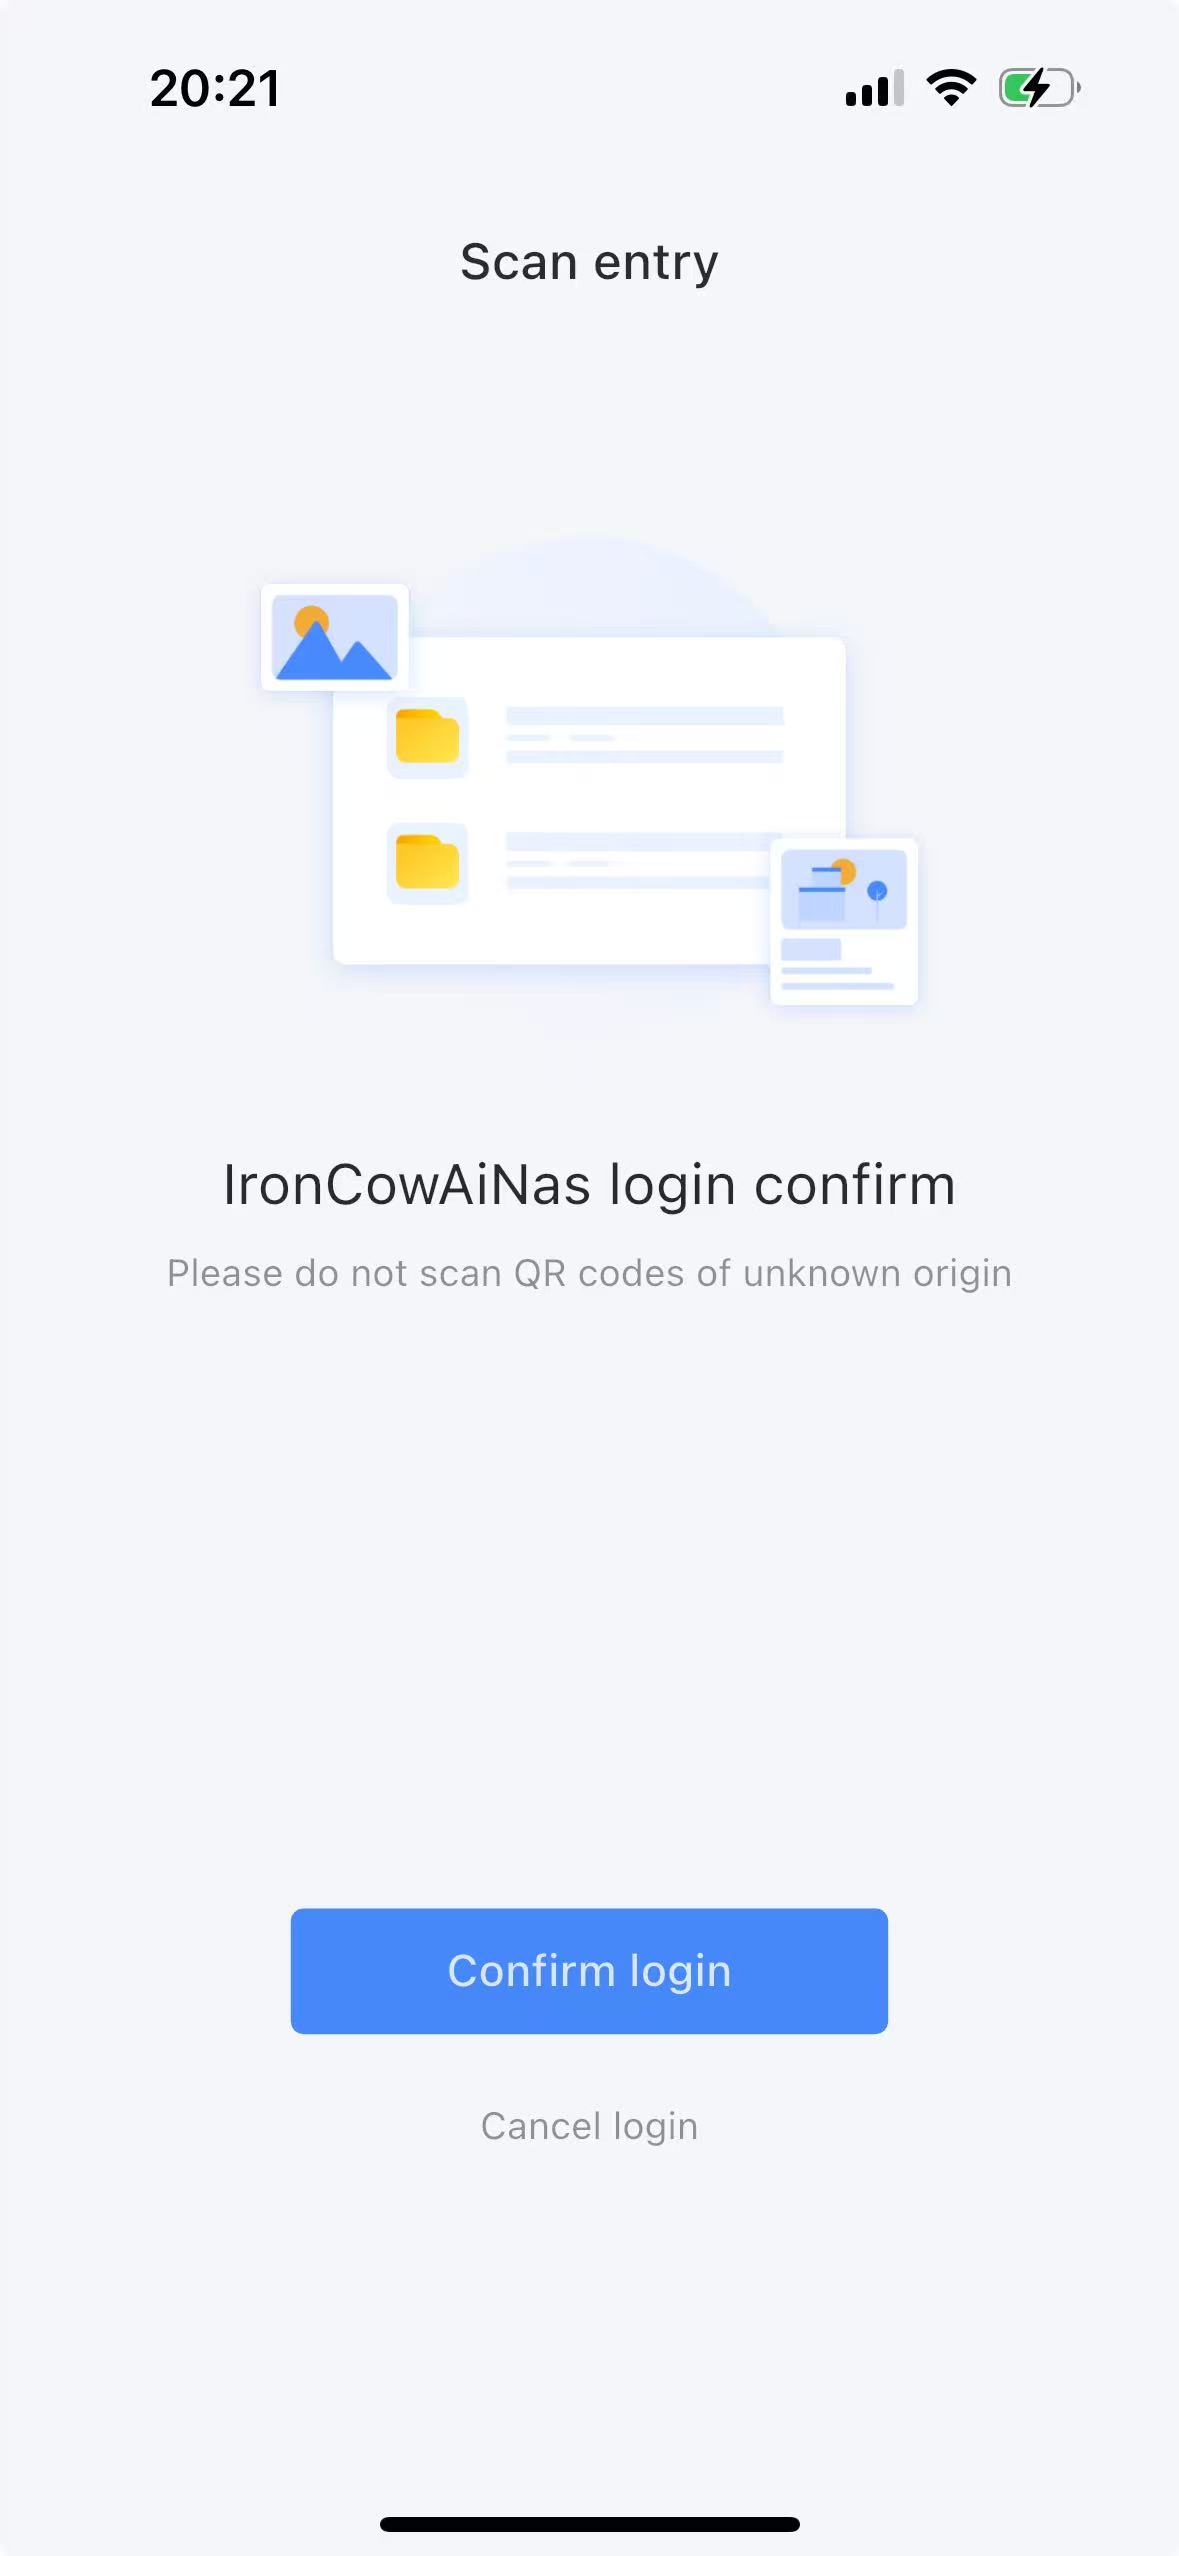
Step 4: Click “Confirm Login”, and a prompt saying “Scan successful” will pop up. Then you can log in to the device by scanning.
3.TV Login Method #
The only login method for the TV version is scanning a code to log in.
Step 1: If the TV version is not logged in, click on the TV app to pop up “Scan code to log in to the TV version”.
Step 2: Click the “Scan” icon in the search bar on your mobile device.
Step 3: Scan the QR code on the TV login page. A “Login Confirmation” will pop up on your mobile device.
Step 4: Click “Confirm Login”, and the TV end will prompt that the login is successful.
4.网络设置 #
说明:查看网络连接方式,IP地址等参数信息
手机端与设备一个局域网登录时,APP登录首页显示“内网”,内网上传/下载文件时网速更加快稳定
手机端与设备不在一个局域网登录时,APP登录首页显示“外网”,外网上传/下载文件时网速没有内网速度快
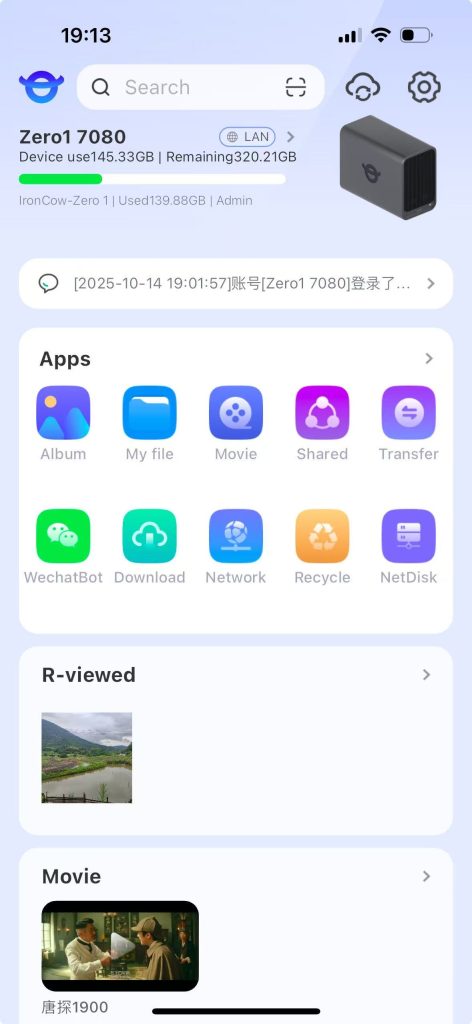
4.1 Intranet Login #
This mode applies when the device is located at home and the user is accessing it locally via the intranet for file upload or download operations.
Step 1: Ensure that both the mobile device and the target device are connected to the same Internet-accessible local area network.
Step 2: Log in to the app’s homepage on the mobile device. The displayed network indicator will show “Intranet.”
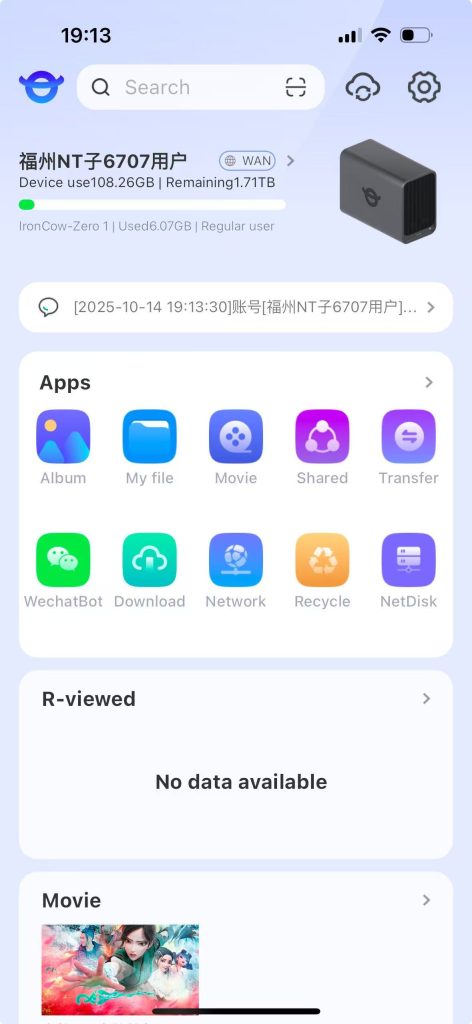
4.2 External Network Login #
When the device is at home and the user is not at home, log in to the device via the external network to perform upload/download operations.
Step 1: The mobile network and the device network are not on the same local area network that can access the Internet.
Step 2: Log in to the APP home page on the mobile phone – the network icon displayed shows “External Network”.
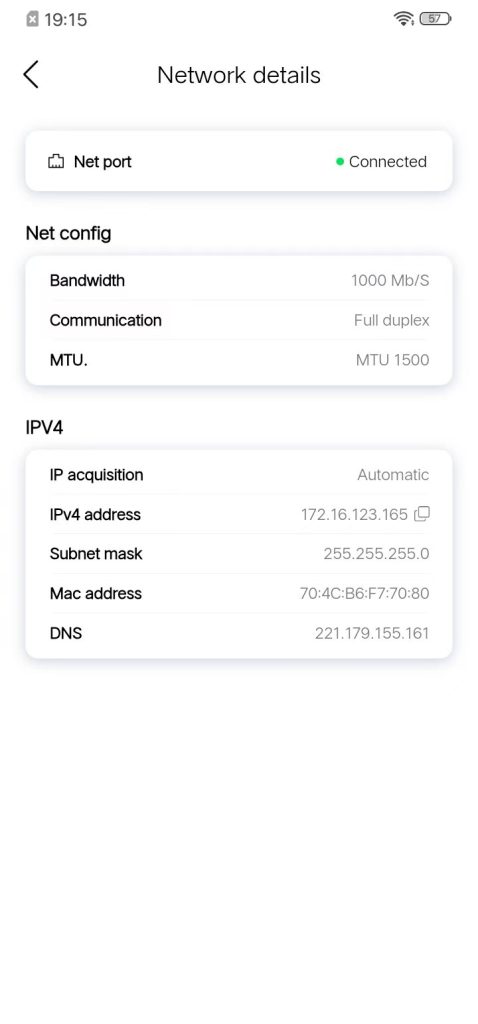
4.3 Network Settings Details #
Check the network connection mode, IP address and other parameter information.
Step 1: Log in to the APP home page, click on the displayed “Intranet” or “Extranet”, and enter the “Network Settings Page”.
Step 2: Under the Network Settings page, click “Connected”, and then enter the “Network Details” page.
5.Device Settings (My Settings) #
5.1Storage Management #
Step 1: Launch the APP and log in. Navigate to Settings, select Storage Management, and proceed to the Storage Management page.

You can view the number of hard disks, space size, storage mode, dual backup settings, and disk health status.
步Step 2: Click “Safe Dual Backup Settings” to enter the dual backup file page and view the dual backup files.
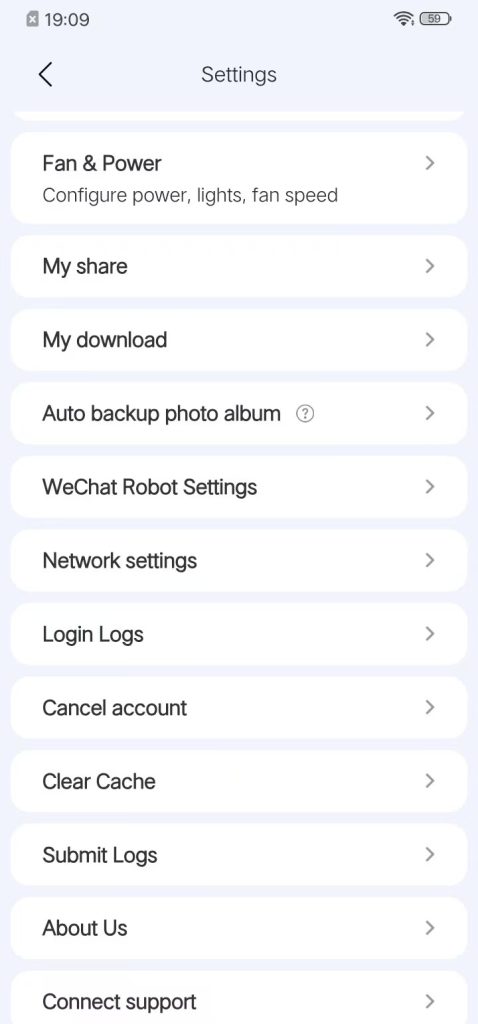
5.2 Fans and Power Supply #
Step 1: Home page of the APP – Settings page – Click “Fans and Power Supply” to enter the hardware-related settings.
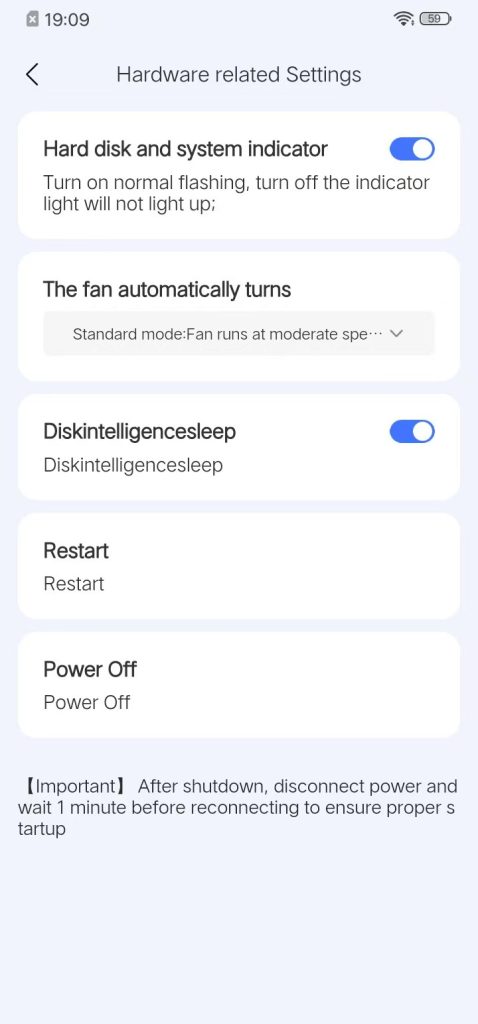
1. Hard Disk and System Indicator Lights
1.1 When enabled, both the system indicator light and hard disk light flash normally during operation.
1.2 When disabled, both the system indicator light and hard disk light remain off.
2. Automatic Fan Control
2.1 Automatic Mode: The system dynamically adjusts fan speed based on real-time device temperature, effectively reducing noise under typical operating conditions.
2.2 Standard Mode: The fan operates at a moderate speed, balancing thermal performance and acoustic output.
2.3 Full Speed Mode: The fan runs at maximum rotational speed, ensuring optimal cooling but generating higher noise levels.
3. Intelligent Hard Disk Sleep
3.1 When enabled, the hard disk automatically enters sleep mode during periods of inactivity, indicated by a slowly flashing green disk light.
3.2 When disabled, the hard disk remains active even when idle, with the disk light continuously illuminated in green.
4. Shutdown
Clicking the “Shutdown” button triggers a confirmation dialog. Upon confirmation, the device will safely power down.
5. Restart
Clicking the “Restart” button displays a confirmation prompt. After confirmation, the device will initiate a system reboot.
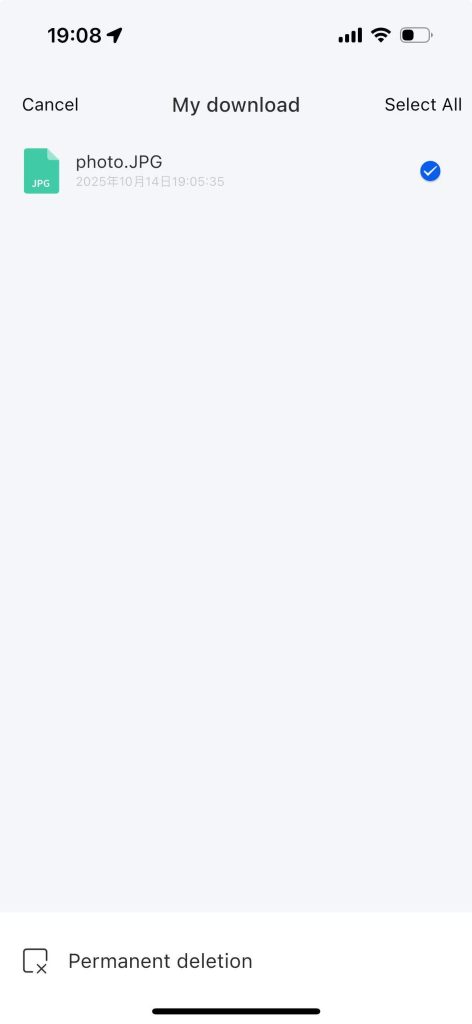
5.3 My Downloads #
Step 1: On the home page of the APP – go to the settings page – click on “My Downloads” to view all the files you have downloaded.

Step 2: Click the “Select All” button on the upper right corner to delete the selected downloaded files.
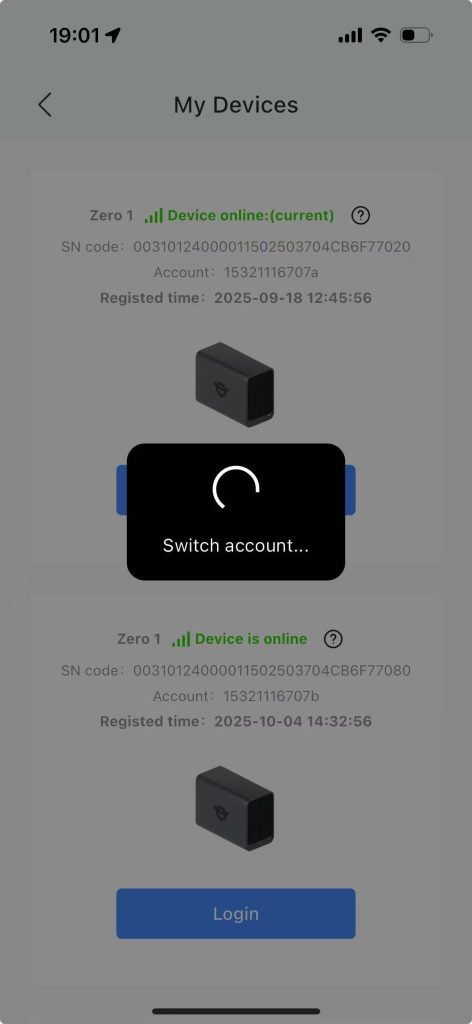
5.4 Switching Devices #
Enter the switching page to quickly switch between multiple devices.
Step 1: Home page of the APP – Click the “Settings” button
Step 2: Click “Switch”

Step 3: Select the device under “My Devices” and click “Log In Now”.
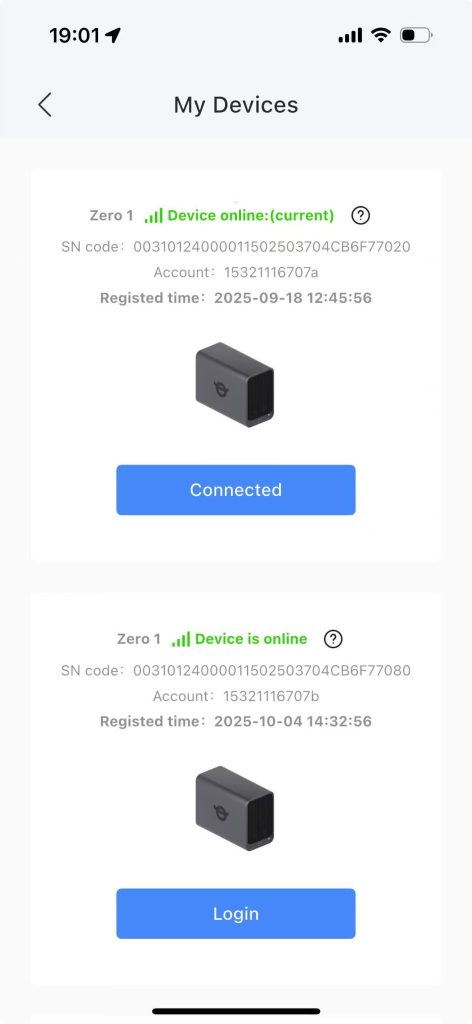
Step 4: Prompt “Switching accounts”, and automatically enter the home page of the switched device after the switch is completed.
5.5 Email Binding #
Once your mobile phone number has been successfully registered, you may use the “Email Login” option to access the device.
Step 1: From the APP home page, navigate to the Settings menu by clicking the “Settings” button.
Step 2: Select “Bind Email” to proceed with email registration.
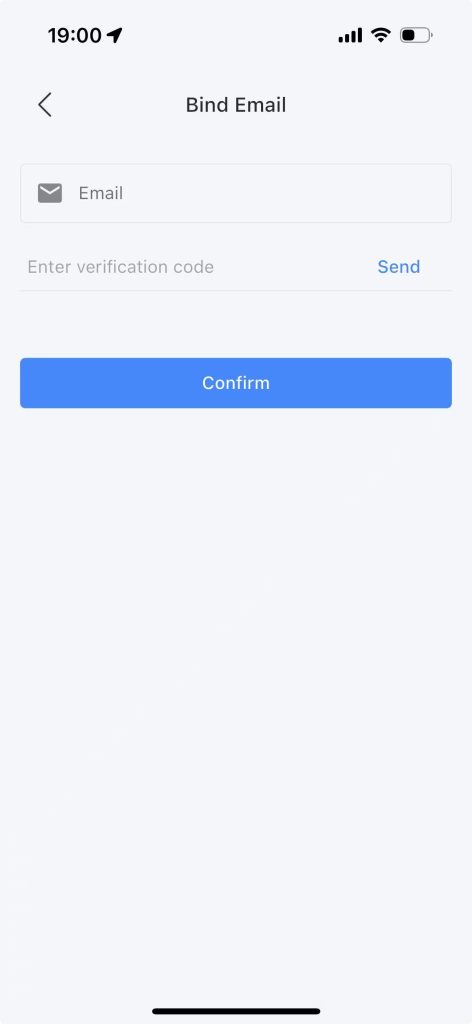
Step 3: Enter your email address, send the verification code, and enter the verification code.
Step 4: Click “Confirm”, and a prompt will show that the binding is successful. The text “Bind Email” will change to “Modify Email”.
Step 5: The mobile number binding is successful. You can log in to the device using the “Email Login” method.
5.6Change Mobile Number #
Users may update their registered mobile number. The new mobile number will retain all user data associated with the original number.
Step 1: Home page of the APP – Click the “Settings” button
Step 1: From the APP home page, click the “Settings” button.
Step 2: Select “Modify Mobile Number”.
Step 3: Enter the new mobile number, click “Send Verification Code”, and input the received verification code.
Step 4: Upon successful update, log in to the device using the new mobile number. All data linked to the previous number will be preserved.


