1.1 Manual Upload from Phone’s Local Album #
Thumbnails are generated one by one in sequence, so it may take some time to generate them.
Step 1: Click on the “Photos & Albums” section on the home page of the APP, then click “Local Photos”.

Step 2: Click the “checkmark” button to select one or all un-uploaded photos (there is an icon indicating un-uploaded in the upper left corner of the picture).
Step 3: After selecting the picture, click the “Upload” button at the lower left corner. A prompt will appear saying, “Upload task created successfully. Please check in the Task Center.”
Step 4: Click the “Task Center” button to enter the transfer task page and check the upload status.
Uploading in progress: View tasks in the process of uploading
Upload completed: View completed upload tasks
Pause all uploads: Pause all uploading tasks
Resume all uploads: Resume all upload tasks
Step 5: Transfer task – Upload – Completed page to view uploaded images

Step 6: Enter the Album Photos – NAS Photos page to view the pictures that have been uploaded to the NAS. The pictures are classified by the latest year and date.

1.2 Automatic Backup of Local Phone Album #
Description: Once the automatic backup feature for the phone album is enabled, the application will automatically scan for any new photos that have not yet been backed up each time it is launched. If unbacked-up media are detected, an automatic backup task will be initiated to transfer them to the designated storage device.
Users may selectively upload specific photos and videos from their mobile device. Selected media files will be automatically backed up and stored in a dedicated folder corresponding to the user’s phone model.
In the event that the application is uninstalled and subsequently reinstalled, the automatic backup function must be manually re-enabled. Provided the default backup folder name remains unchanged, previously backed-up photos will not be duplicated during subsequent backups.
Step 1: Navigate to Album Photos and click the “Expand” button located in the upper-right corner.
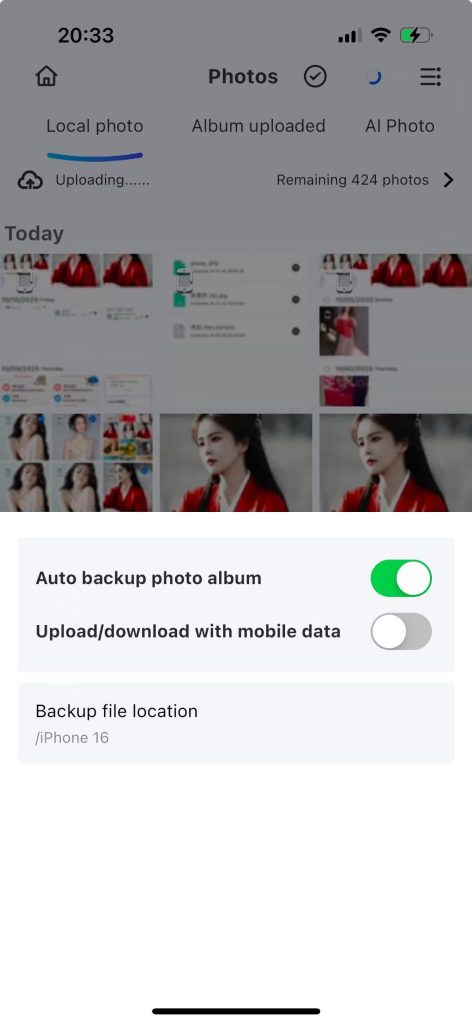
Step 2: Click “Auto-backup Phone Album” to enable automatic backup of pictures from your phone’s local album to the device. During the automatic backup process, it will display: “Backing up…”
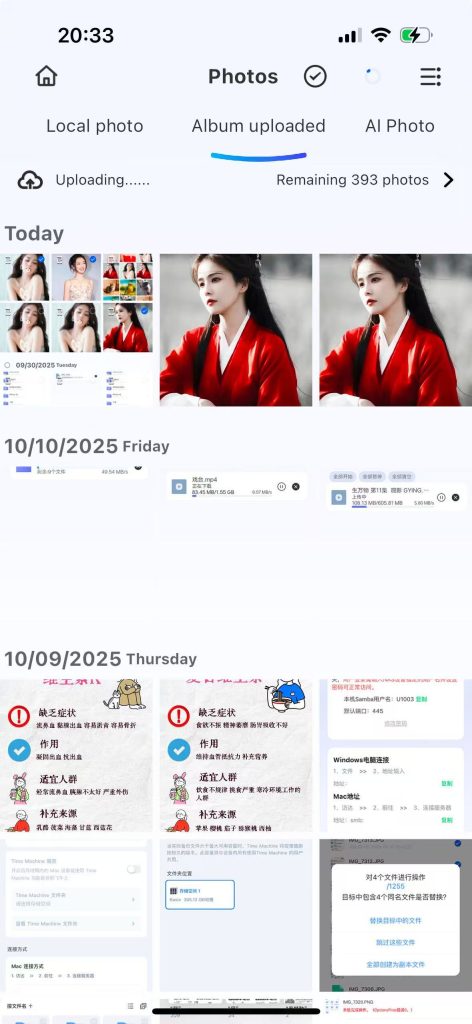
Step 3: Click “Transfer Tasks”, then click the “Album Auto Backup” page. It shows “Backing up local albums (192 remaining)”.
Step 4: After the automatic backup is completed, the prompt “Backing up local albums (192 remaining)” will no longer be displayed. Click on the “NAS Photos” page to view the automatically backed-up pictures.
1.3 Enable Album AI #
After enabling this service, the photos automatically backed up in Ascend AI Nas will be automatically classified into categories such as adult portraits and scenes.
Step 1: Album – “AI Classification” – Click the expand button on the upper right corner.
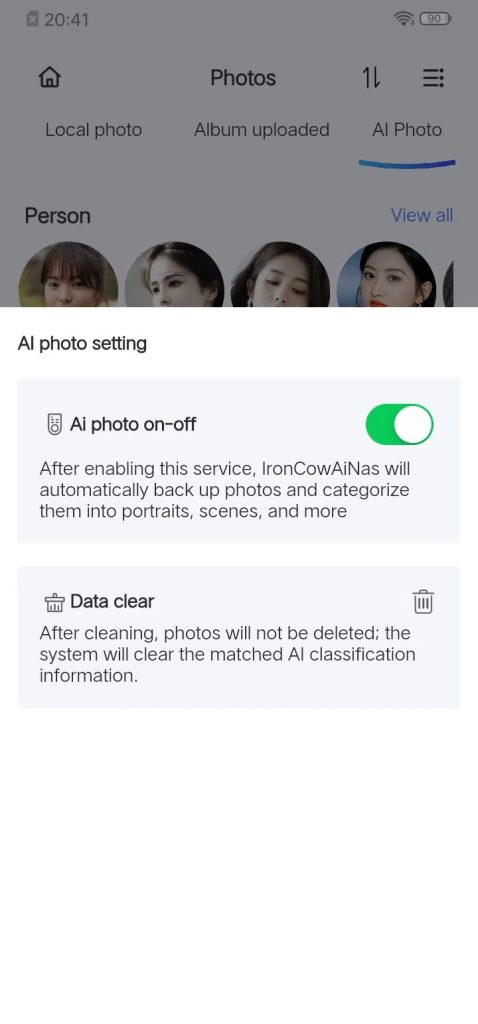
Step 2: Click on the “AI Switch for Smart Albums”, and after turning it on, a prompt saying “The generation time is relatively long. Please wait patiently.” will be displayed.
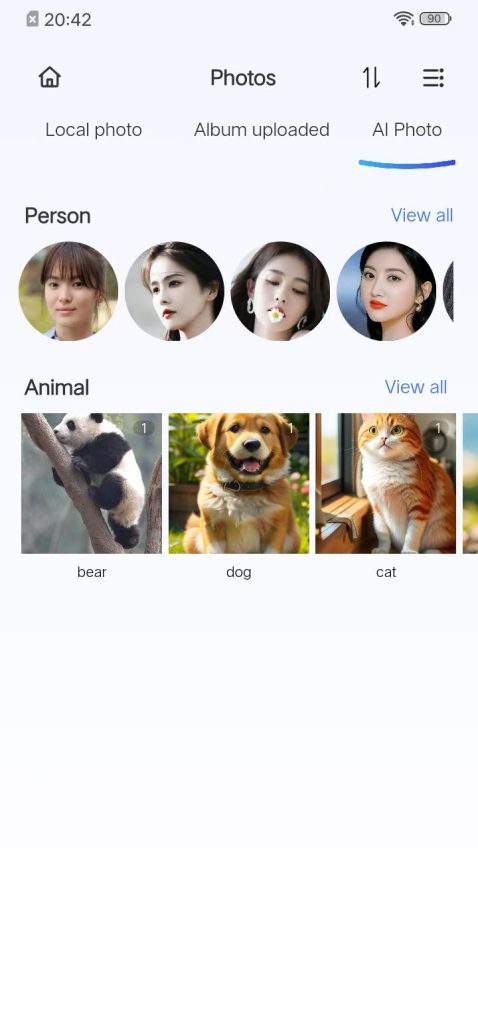
Step 3: After the recognition is completed, you will see the photos automatically classified by people, animals, locations, etc.
1.4 AI Album Data Cleaning #
After cleaning, photos will not be deleted. The system will only clear the matched AI classification information.
Step 1: Photos Album – AI Classification
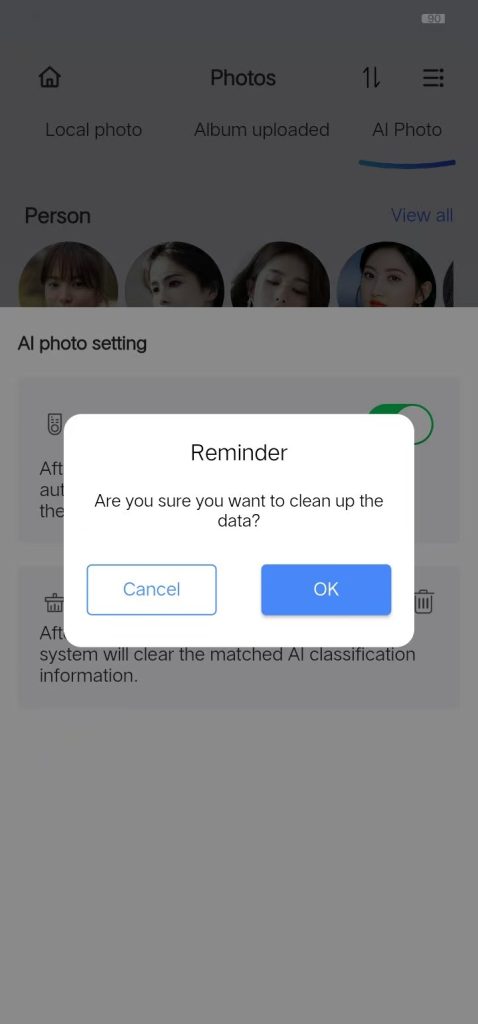
Step 2: Click “Data Cleaning”, and a prompt will pop up asking “Are you sure you want to clean the data?”

Step 3: Click “OK” to clear all AI classifications.
Step 4: Data cleaning is complete. The AI will reclassify the data.
If the AI does not reclassify the data, you can follow these steps:
1. Log out of the app and log back in.
2. Click to turn off the AI switch and then turn it on again
1.5 NAS Photo Download #
Photos stored on the NAS can be downloaded to a local device, such as a smartphone or computer.
Photos stored on the NAS can be downloaded to a local device, such as a smartphone or computer.
Step 1: Navigate to the home page of the application, select “Photos & Albums,” and then access the “NAS Photos” section.
Step 2: Click the “Checkmark” icon to enable selection mode, allowing individual or bulk selection of photos.

Step 3: Click the “Download” button. A notification will then appear indicating that the download task has been completed; users are advised to review the status in the Task Center.
Step 4: Click the “Transfer Task” button. On the transfer task page, click “Download – Completed” to view the downloaded photos.
1.6 Deleting Local Photos from Mobile Device #
Local photos stored on the mobile device can be deleted directly via the “Local Photos” section within the NAS Photo Album interface.
Step 1: Navigate to the home screen of the application, select “Photos Album,” and then access the “Local Photos” section.
Step 2: Click the “checkmark” button to select individual or all photos.
Step 3: Click the “Delete” button, and a confirmation dialog will appear with the message “Are you sure you want to delete this photo?”

Step 4: Click the “OK” button to delete the selected photos on this device.

Downloading: Tasks currently in the process of downloading.
Downloaded: Tasks that have been downloaded successfully.
Select: Multiple select photos for deletion/clearing.
1.7 Deleting Photos from NAS #
Description: This function allows users to delete photos previously uploaded to the NAS. Once deleted, the corresponding photos stored on the local mobile device will no longer be automatically backed up. Users may manually select and re-upload these photos if needed.
Step 1: Album – “NAS Photos” – Click the “Checkmark” button to select photos individually or all at once.

Step 2: Click “Delete”, and a “Friendly Reminder” will pop up.
Step 3: Once confirmed, the selected photos will be deleted from the device.
Step 4: On the home page of the APP, click on “Recycle Bin” to view the deleted photos.
1.8 Possible reasons for inaccurate recognition and classification by AI photo albums #
1. Limitations of the AI model
2. Issues with the photos themselves, such as unclear subjects
3. Unconventional angles: Photos taken from the top down of food, or from the side of cars, etc., are not among the most common training data for AI.


