The sharing scope is restricted to all users on the same device; users on different devices cannot access or view shared folders. Once a folder is configured as shared, it becomes visible to all users associated with the same home storage device. Other accounts may copy and download the shared content into their respective personal directories.
It should be noted that when the primary account and sub-accounts access each other’s shared folders, file upload functionality is disabled. This restriction ensures data integrity and controlled access within shared environments.
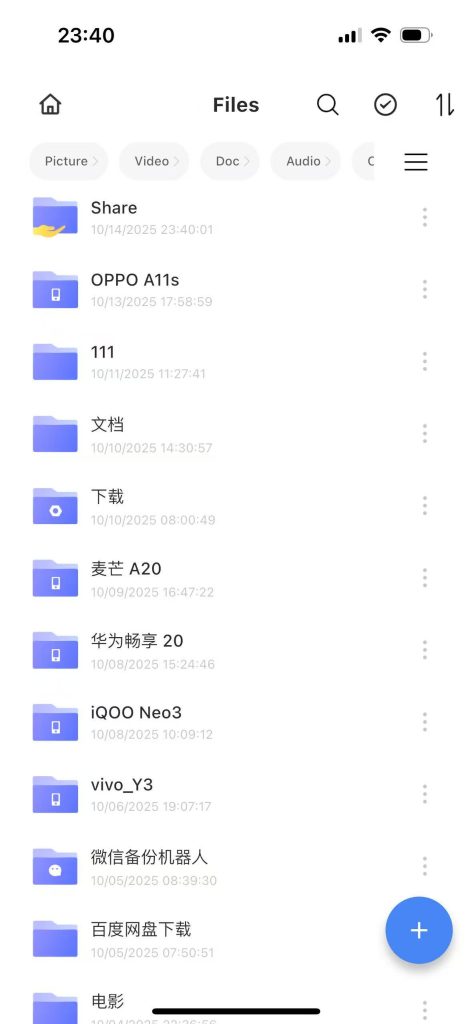
1.1 Setting Up Shared Folders on the Mobile App #
Step 1: Navigate to the File Management > File page, select the desired folder, and initiate the sharing option to configure it as a shared folder.
Step 2: Click the “three dots” icon behind the folder.

Step 3: Click on “Share”, and a prompt will appear saying “Share successful”. After sharing successfully, there will be a hand icon on this folder.
Step 4: Log in to the APP home page with the sub-account, click on “Shared Space”, and you can see the folders shared by the administrator. You can copy and download the shared content to your own account.
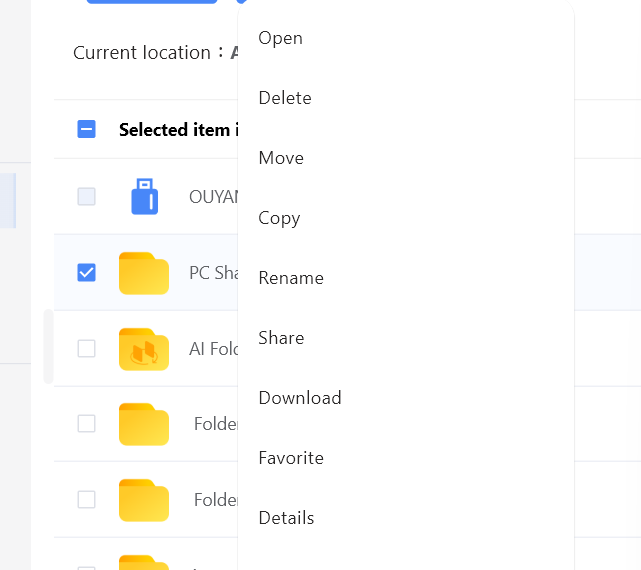
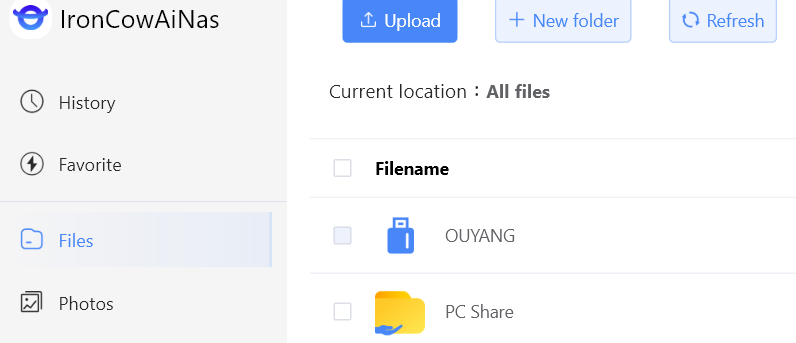
1.2 PC Client Settings for Shared Folders #
Step 1: Open the PC client and click on My Files
Step 2: Select a folder, click the three-dot button behind the folder, expand it and choose “Share”. After sharing the folder, a hand icon will appear.
Step 3: Log in to the APP home page with the sub-account, click on “Shared Space”, and you can see the folders shared by the administrator. You can copy and download the shared content to your own account.


