1. User Account Management Guidelines #
1.1 What Is an Administrator Account? #
The first account registered on a device becomes the administrator account. Administrators have elevated hardware management privileges and are authorized to create, disable, and deactivate regular user accounts.
1.2 What Is a Regular User Account? #
A regular user account is one created by the administrator. Such accounts operate independently and maintain user privacy, with no access to device-level operational controls.
1.3 Can the Administrator Access Content in Regular User Accounts? #
No. Data associated with administrator and regular user accounts are strictly isolated. Unless explicitly shared, content remains inaccessible across accounts.
1.4 What Administrative Controls Are Available for Regular User Accounts? #
Administrators may perform the following actions on regular user accounts: disable, re-enable, and permanently delete (cancel).
1.5 Can the Same Phone Number Be Used to Register Accounts on Multiple Devices? #
Yes. A single phone number can be used to register accounts across multiple family smart storage devices. On the first device, the account will be created using the phone number alone. For subsequent devices, the system appends a lowercase letter (e.g., phone number + a, phone number + b), incrementing alphabetically up to phone number + z. If a prior account is deleted, its identifier becomes available for reuse.
2.Administrator Account #
2.1 ADeactivate Administrator Account #
Description: Deactivating the administrator account will only allow the device to perform a factory reset. After the factory reset, the following information will be deleted:
1. The management account and password stored on the device will be deleted.
2. Settings related to hardware light sources, fans, and hard disk sleep will be restored to factory default parameters.
3. Network-related settings will be restored to factory defaults.
4. The system version and firmware version will not be rolled back.
Step 1: Log in to the administrator app and enter the settings page. Click “Cancel account”.
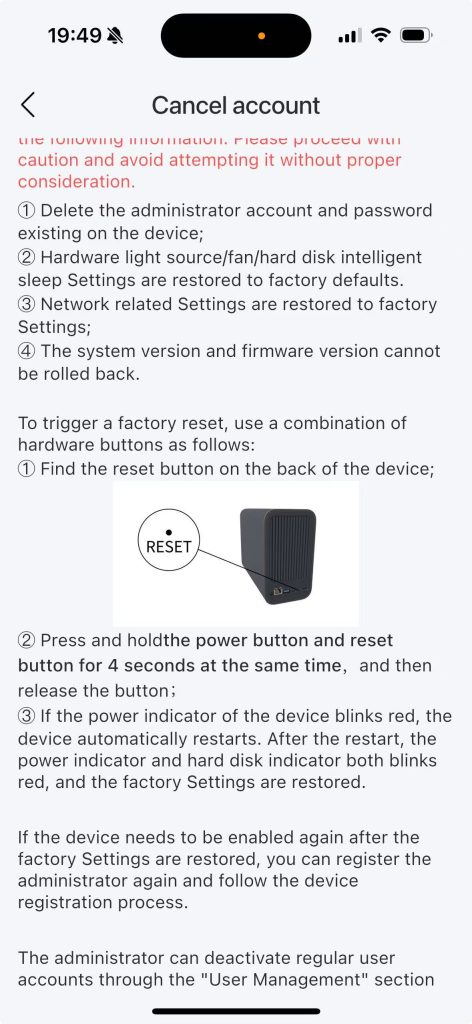
Step2: Locate the reset button at the back of the device.
Step 3: Press and hold the reset button and the power button simultaneously for 5 seconds, then release both buttons.
Note:
1. When the device is registered, the power indicator will flash red rapidly, and the disk indicator will flash green rapidly.
2. When the device is not registered, both the power and disk indicators will flash red rapidly.
Step 4: The device will automatically restart. Upon reboot, both the power and disk indicators will flash red slowly, indicating successful completion of the factory reset.
Step 5: Following the factory reset, the administrator can be re-registered by completing the standard device registration procedure, after which the device will be fully operational.
2.2 Reset Administrator Password #
When the administrator password is forgotten, the administrator password reset operation can be performed to restore it.
Step 1: The administrator logs in to the APP, clicks the “Settings” button in the upper right corner – Settings page
Step 2: Click on “Reset Password” to enter the “Administrator Reset Password” page
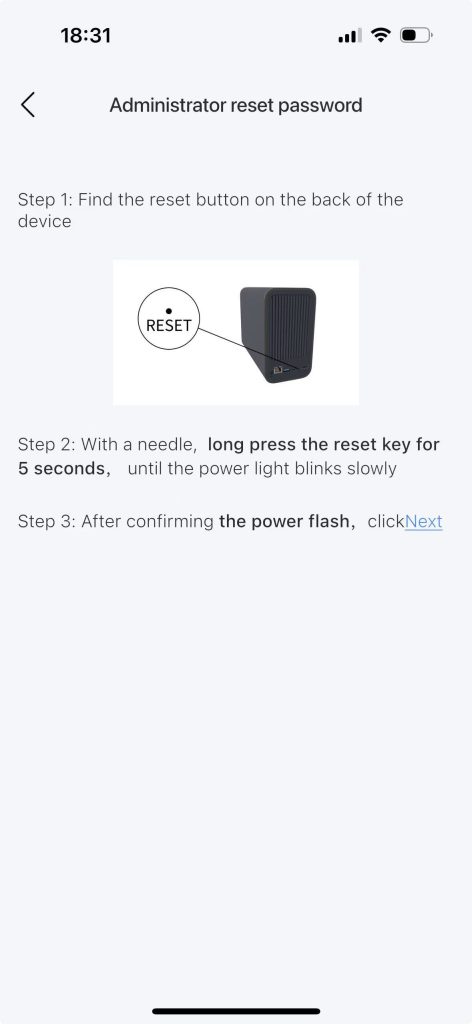
Step 3: Insert the needle-like object into the reset port at the back of the device and hold it for 5 seconds. The power light on the current panel will flash slowly in green.
Note: If the power light does not flash slowly in green after holding for 5 to 10 seconds, repeat this operation until the power light flashes slowly in green.
Step 4: Click “Next” to enter the password reset page and enter your current account a new password
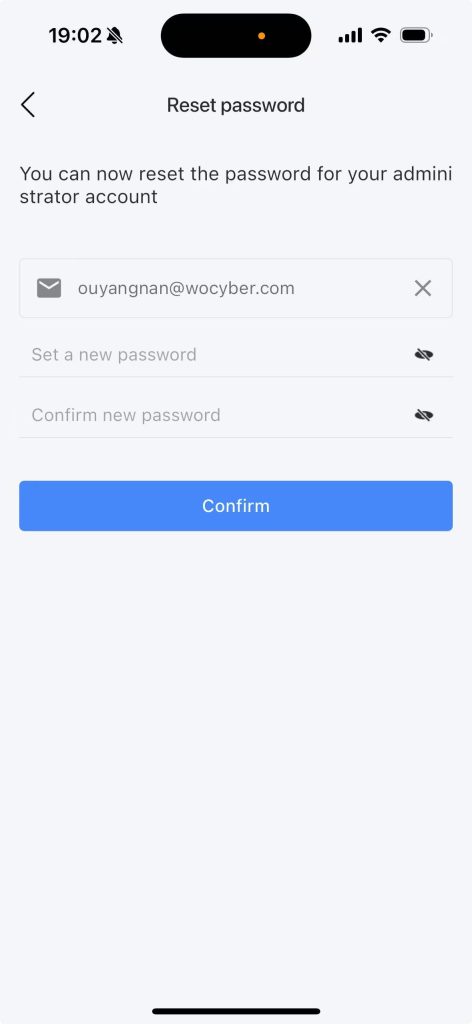
Step 5: After confirmation, proceed to the verification code page.
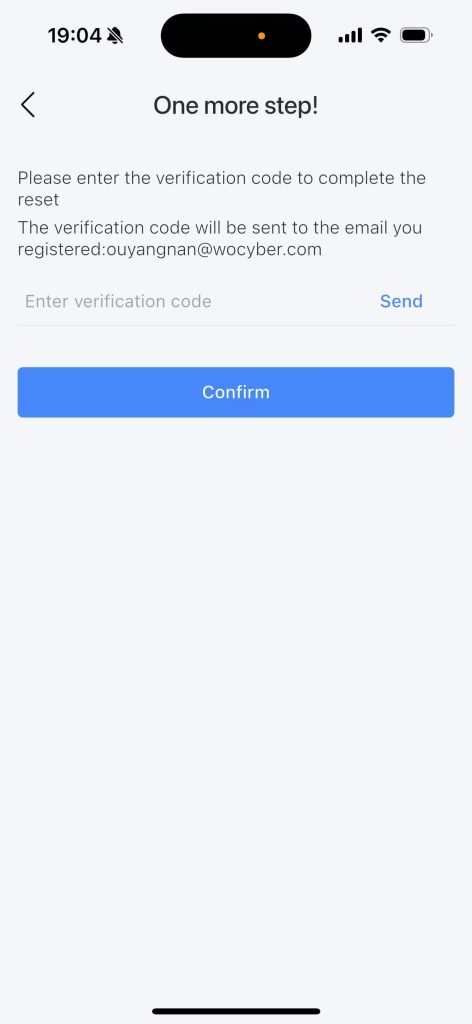
Step 6: After obtaining the verification code sent to your mail and clicking “Confirm”, a prompt will appear saying “Password reset successfully”, and the system will automatically return to the login page. The status light will change from slow green flashing to steady green illumination.
Step 7: Select “I already have an account”, click on “Password Login”, and log in with your new password.
3. Sub-account Management #
3.1 Creating Sub-accounts #
A sub-account refers to a standard user account that operates independently and maintains user privacy separate from the administrator account. Standard accounts do not possess operational privileges related to device management.
Once both the sub-account and the administrator have configured their respective shared folders, each party will be able to view the shared folders established by the other.
Step 1: Log in to the application as an administrator, then click the “Settings” button located in the upper-right corner to access the Settings page.
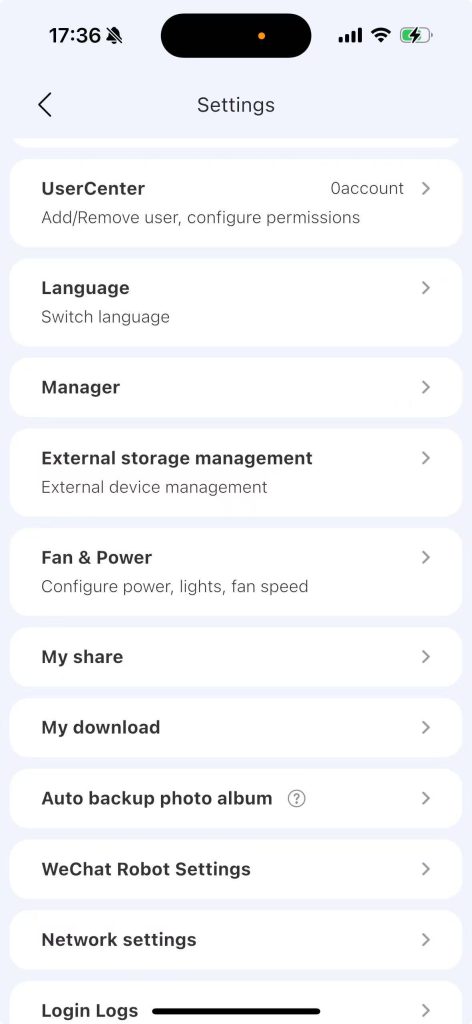
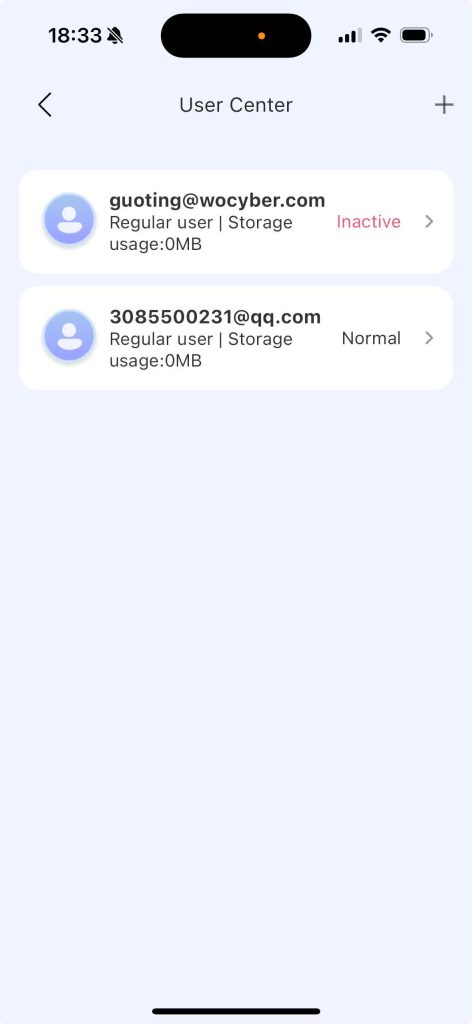
Step 2: Click on “User Center”
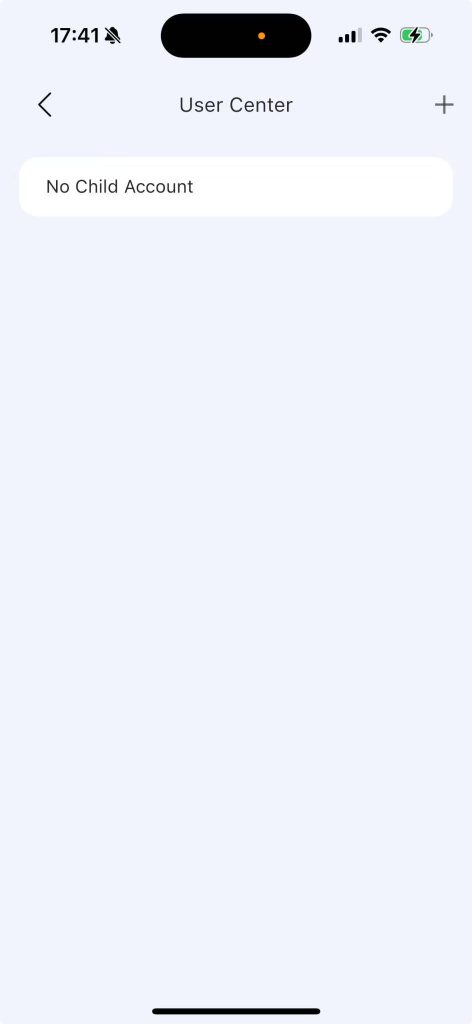
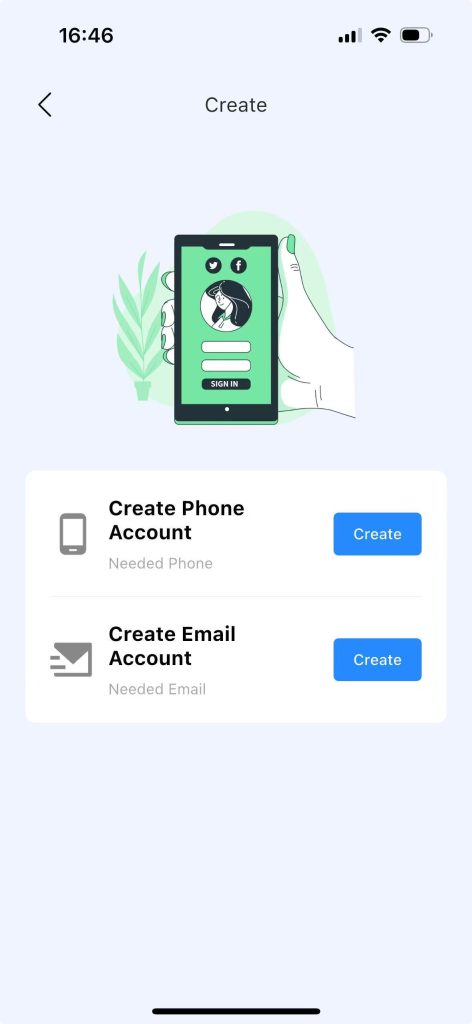
Step 3: Click on the “+” to create a mobile phone account or an email account. Here, we take creating a mail account as an example. The method for creating an email account is the same as that for creating a mobile phone account.
Step 4: After entering the email address and password, click OK to complete the creation of the sub account
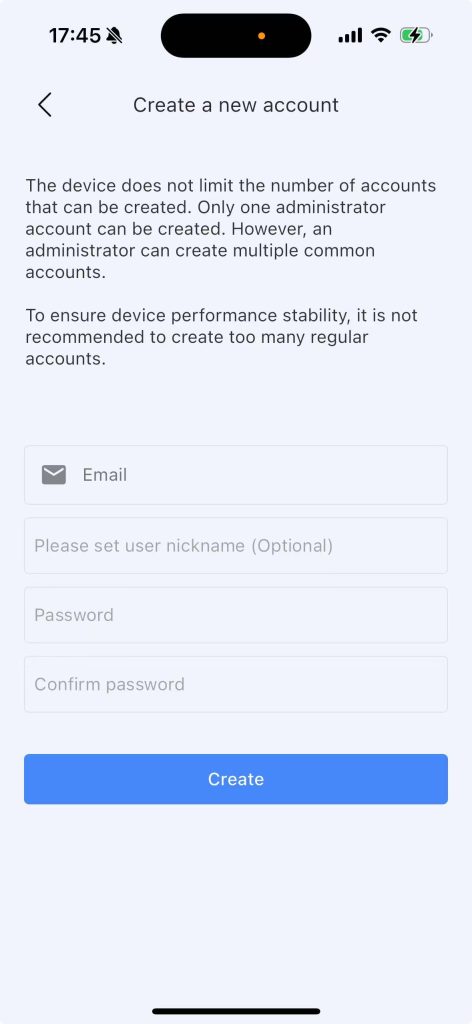
Step 5: After entering the email address and password, click Create to complete the sub account creation
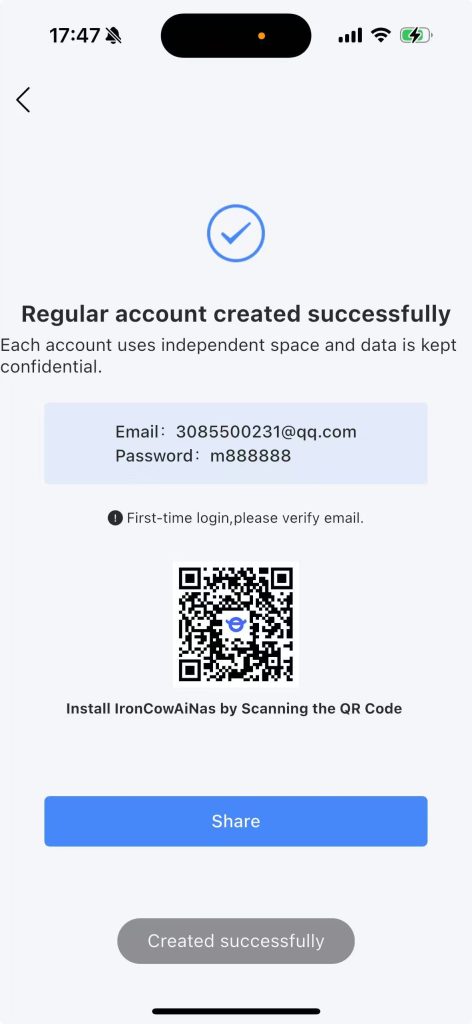
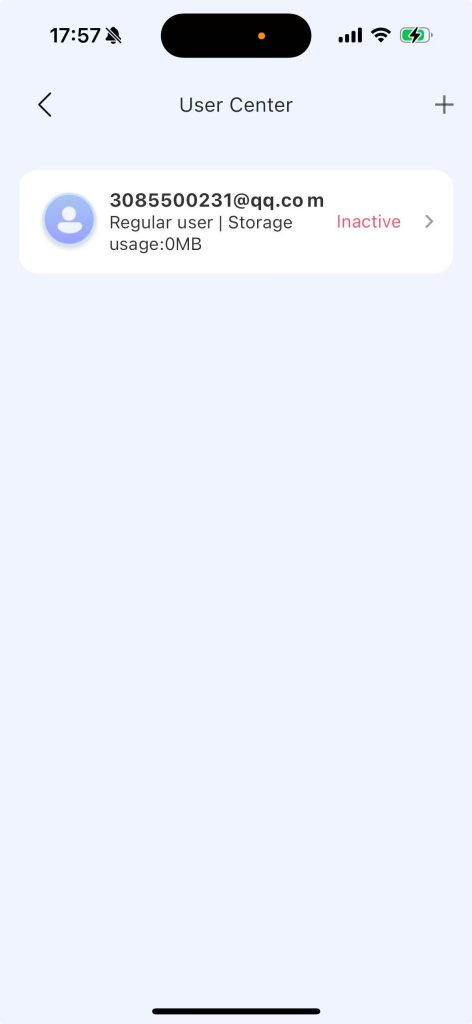
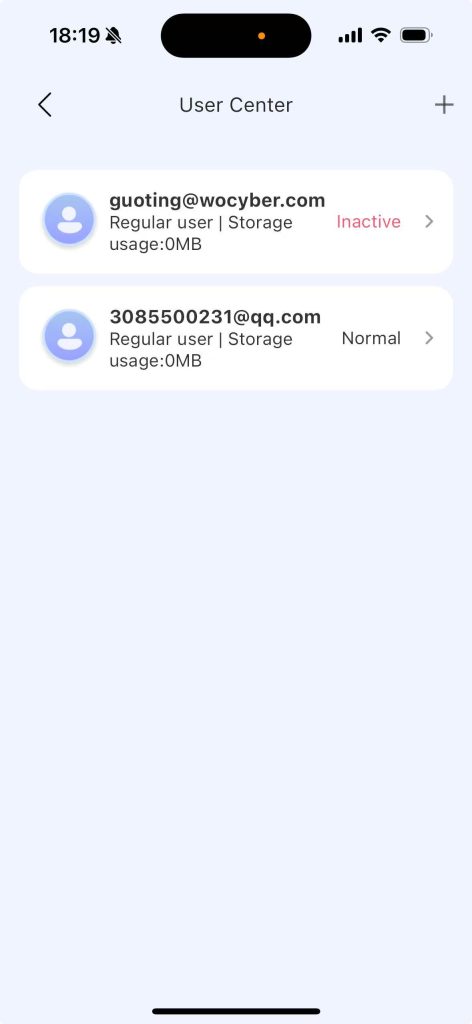
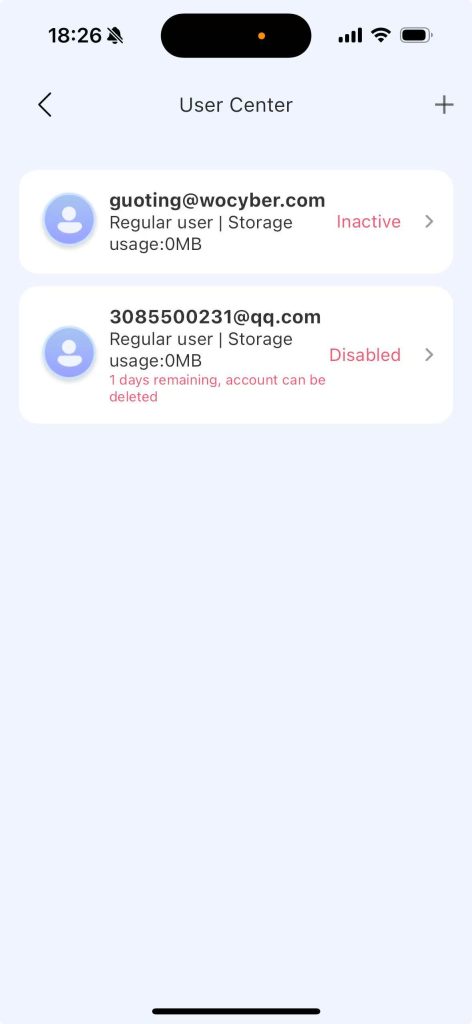
Step 6: Return to the user center page, and you can see that the status of the created sub-user is “Pending Activation”.
3.2 Sub-account Activation #
The sub-account needs to select a device – after logging in to the device, the status changes to “Normal”.
Step 1: On the APP login homepage, click “I already have an account”.
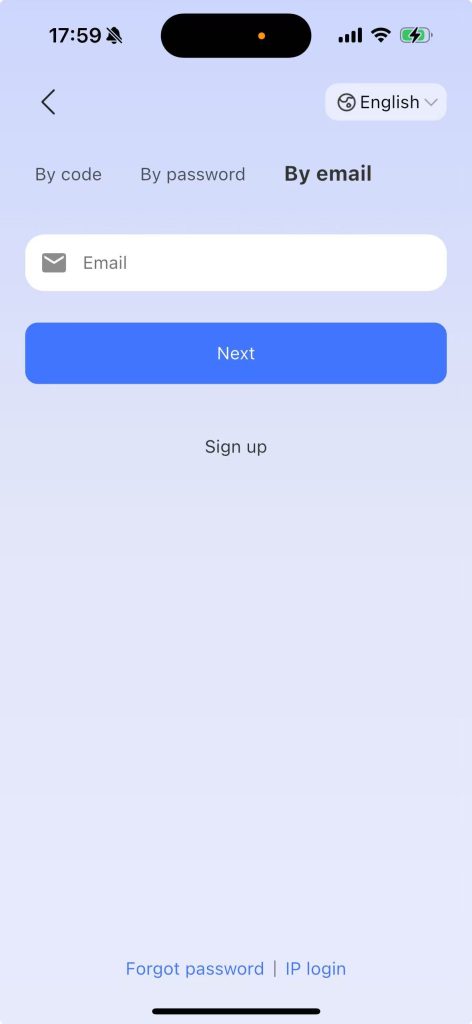
Step 2: Click “Password Login”, enter your mail and proceed to the next step.
Step 3: Select the device – A “Password Login” pop-up will appear.
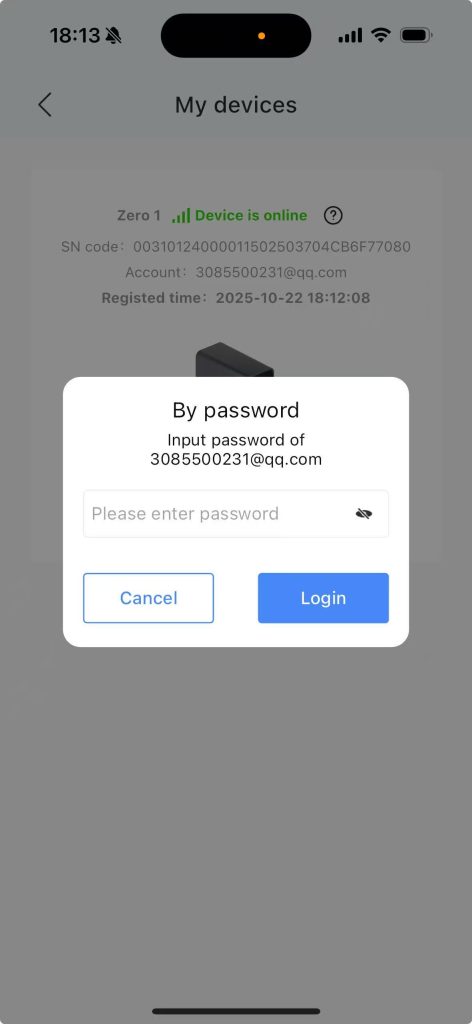
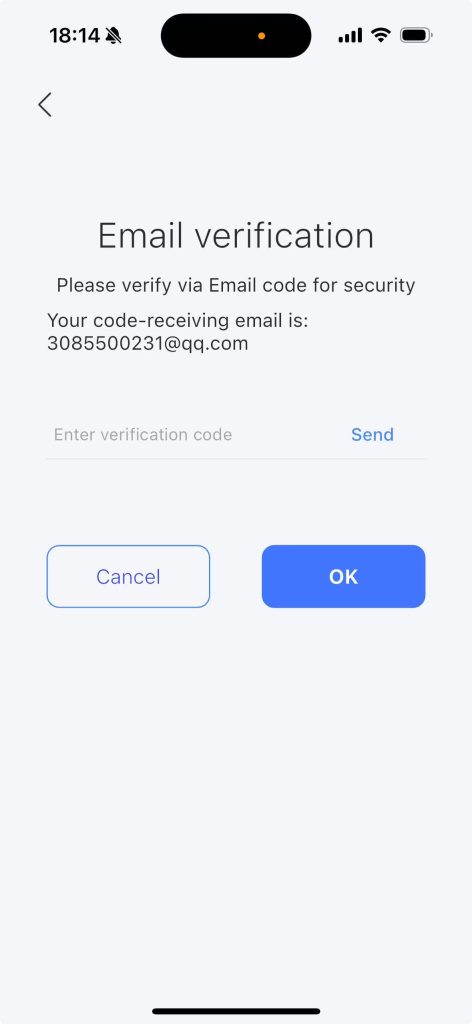
Step 4: After entering the password, a “Verification Code” page will pop up. Enter the verification code to log in to the device successfully. At this point, the sub-account has been activated successfully.

3.3 Prohibit Sub-accounts #
Step 1: The administrator logs in to the APP, clicks the “Settings” button in the upper right corner – Settings page
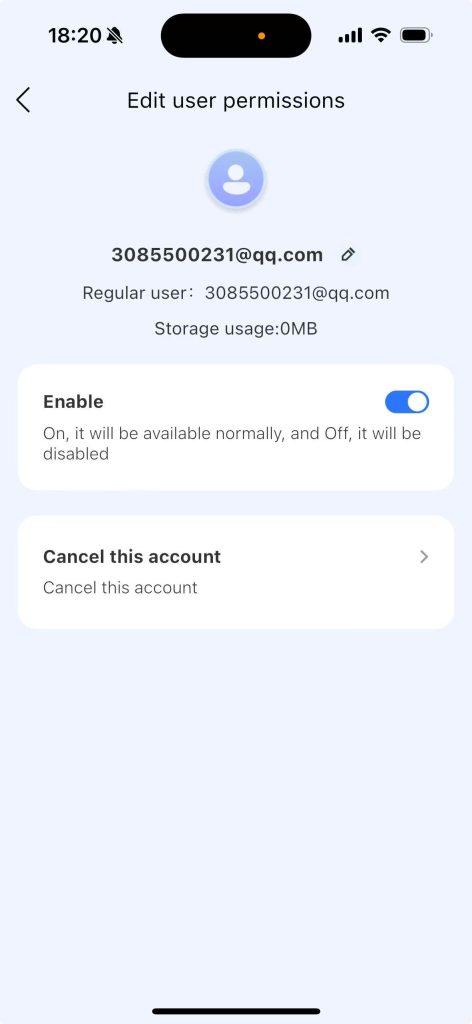
Step 2: Click “User Center”, select the sub-user to be disabled
Step 3: Click “Enable”, and a “Password Verification” pop-up will appear.
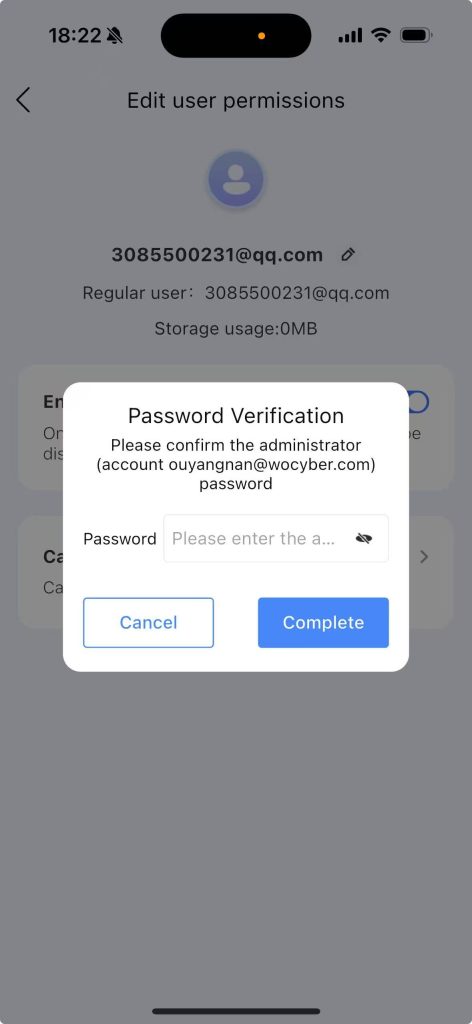
Step 4: Enter the password, and after confirmation, the account will be disabled successfully.
3.4 Reactivating Disabled Sub-Accounts #
Step 1: The administrator logs into the APP, clicks the “Settings” button in the upper right corner – Settings page, and enters the User Center page.
Step 2: Select the sub-account you need to restore, and a “Password Verification” window will pop up.
Step 3: Enter the password, and after confirmation, the sub-account recovery is successful.
Step 4: Enter the user center and change the status of this account from “disabled” to normal
3.5 Deactivation of Sub-Accounts #
Data Status Following User Account Deactivation:
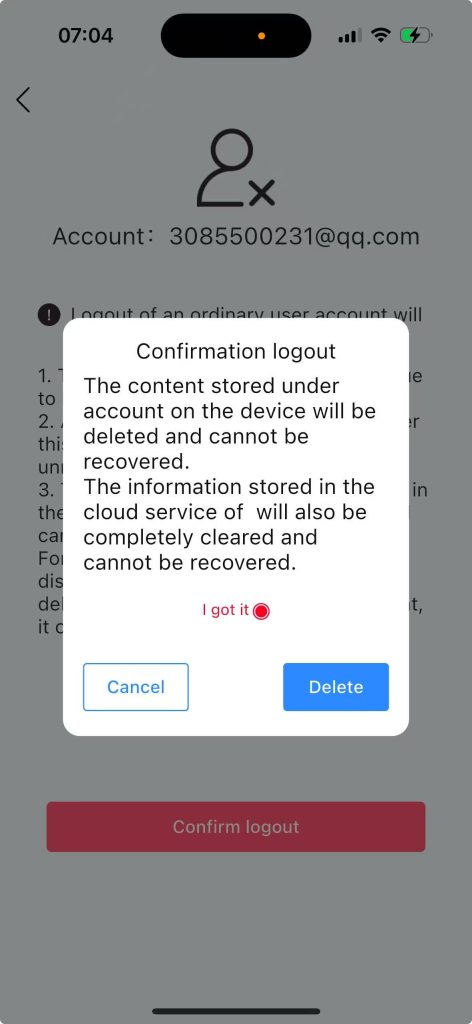
The deactivation of a regular user account will result in the following consequences:
1. The account will no longer be permitted to log in to the device.
2. All data stored on the device under this account will be permanently erased and cannot be recovered.
3. All information associated with this account stored in the cloud service will also be permanently deleted and is irrecoverable.
4. For activated sub-accounts, administrators must first disable the account. Data associated with the account will remain temporarily preserved. Full deactivation may be performed by the administrator after a 24-hour period.
5. Unactivated sub-accounts may be deactivated immediately without prior disabling.
Only accounts with a status of “Pending Activation” or “Normal” are eligible for deactivation.
Step 1: The administrator logs into the application, clicks the “Settings” icon located in the upper-right corner to access the Settings page, and proceeds to the User Center.
Step 2: Select the sub-user to be deactivated.
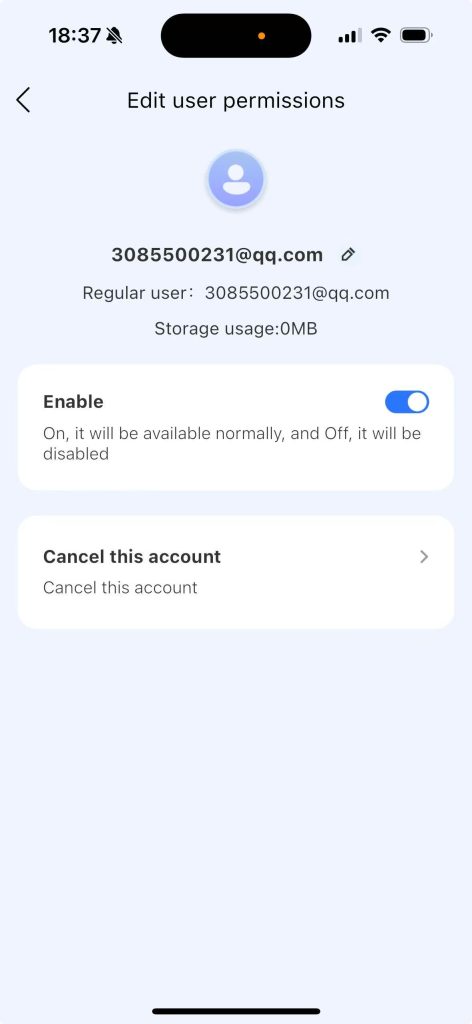
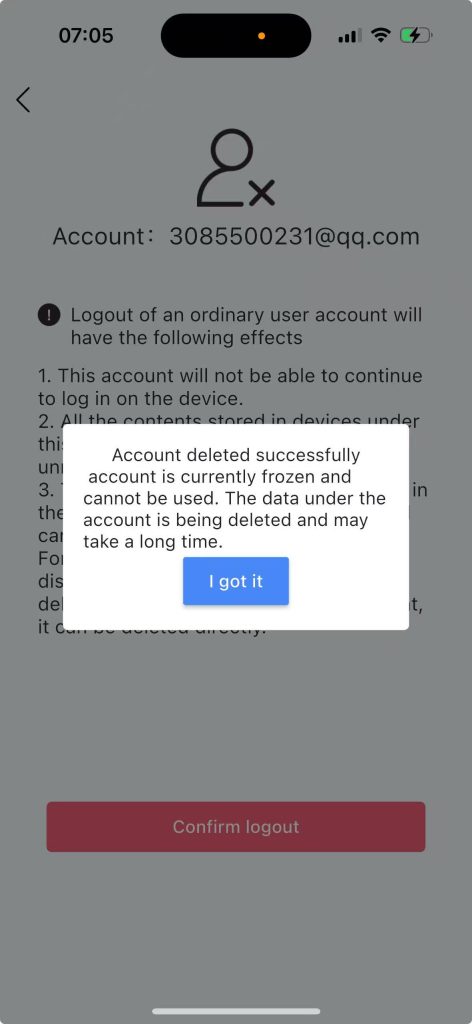
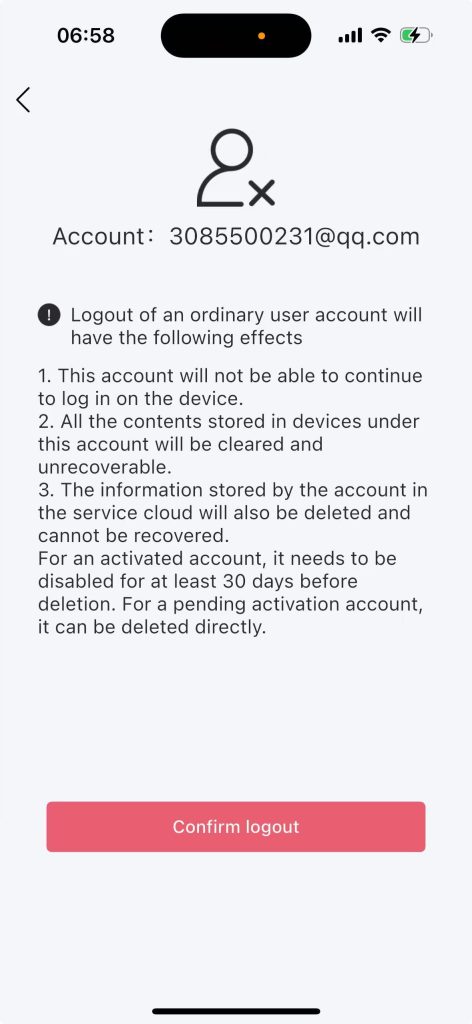
Step 3: Click “Cancel this account”
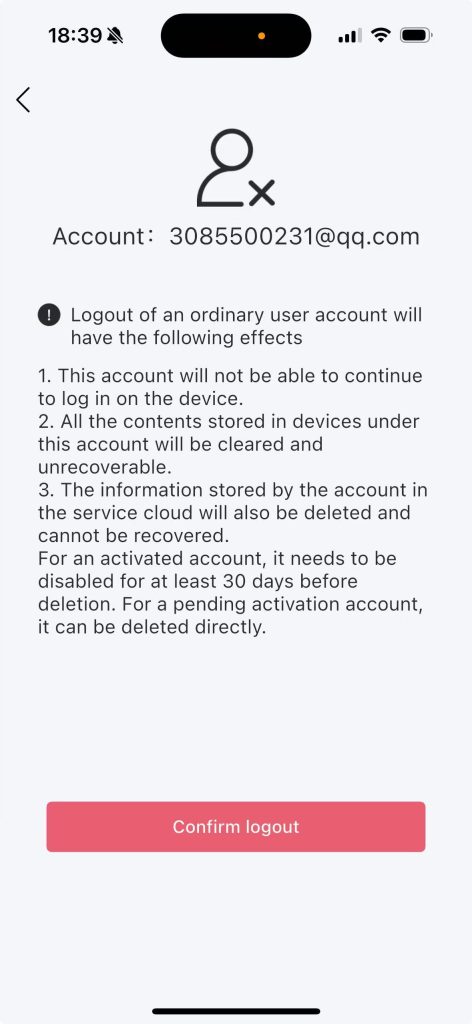
Step 4: Click on “Confirm logout”

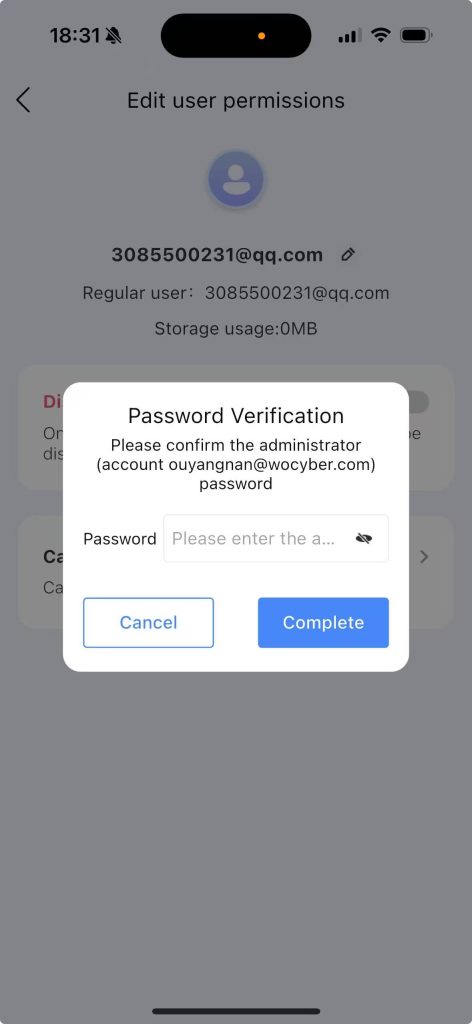
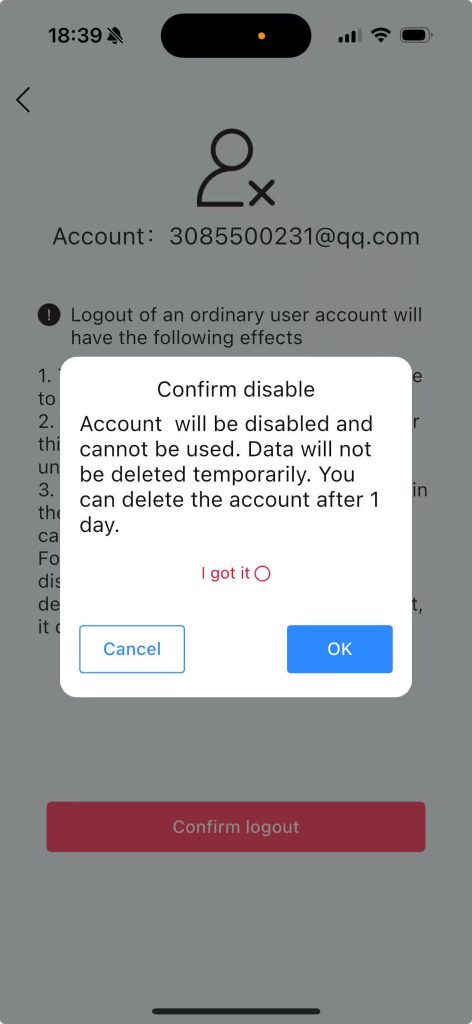
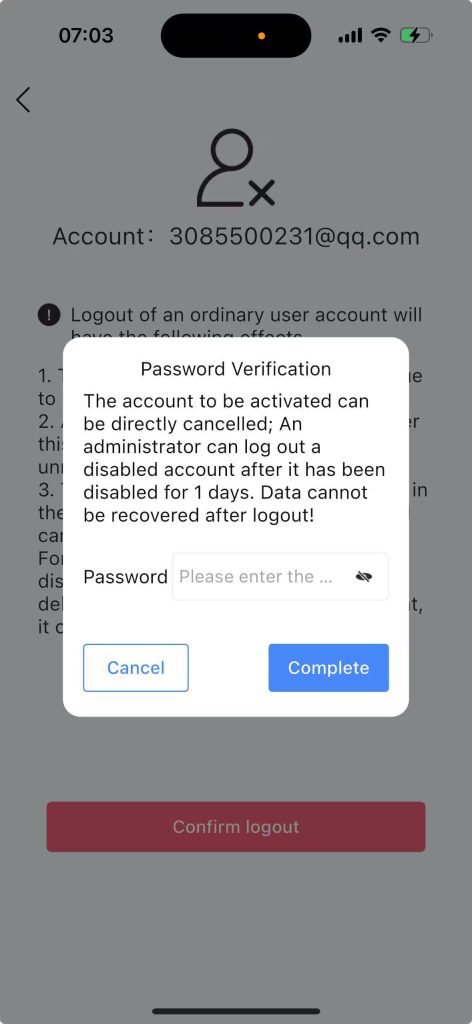
Step 5: Enter the password, click “Finish”, and a “Secondary Confirmation to Disable” page will pop up
Note:
1. If the status is “normal”, this page will pop up for the user.
2. If the status is “pending activation”, this page will not pop up.
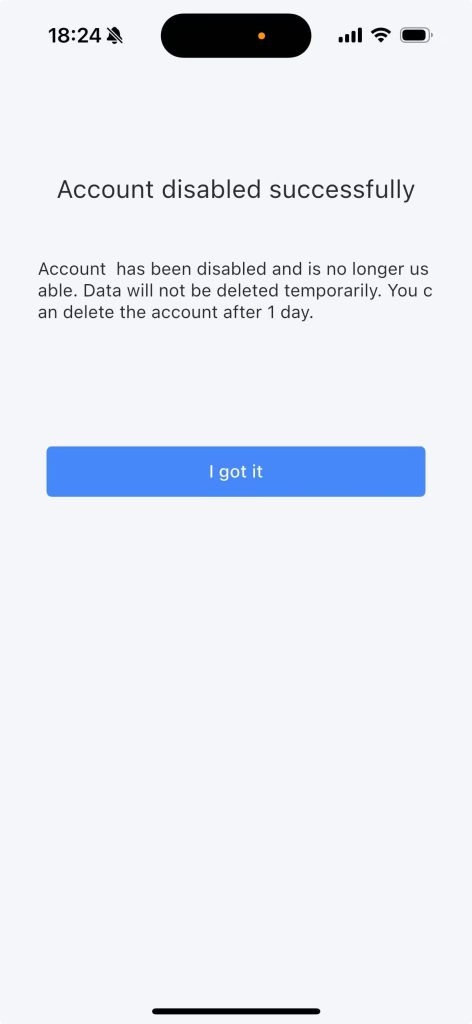
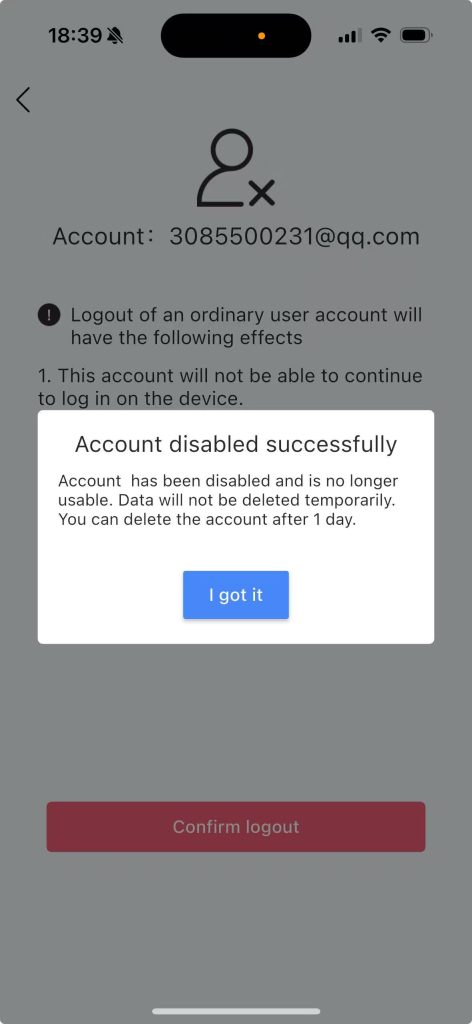
Step 6: Click “OK”. The user will be in the “Disabled, remaining 1 day” status. The data under the account will not be deleted temporarily. The administrator will log out this account by themselves after 1 day.
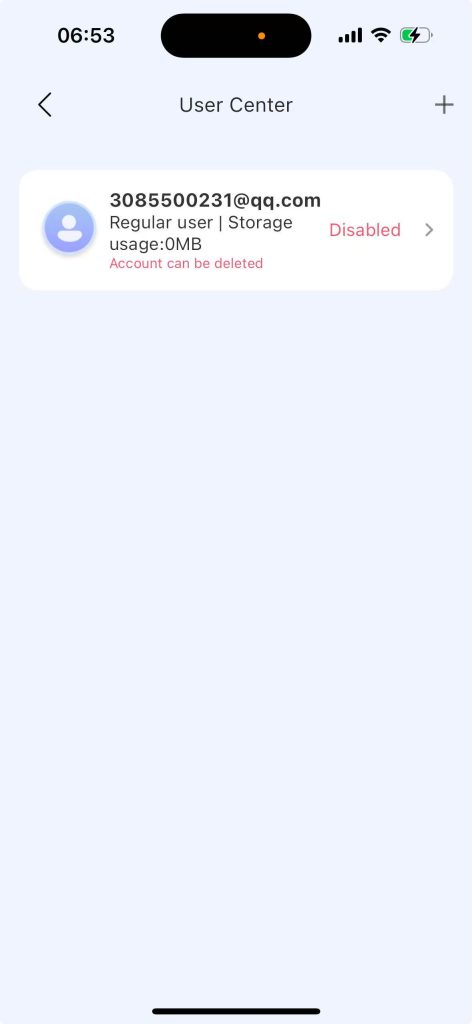
Step 7: The next day, enter the “User Center”, and the user will show “This account can be deleted”.
Step 8: Click ‘Account can be deleted’ user and click ‘Cancel this account’
Step 9: Click ‘Confirm logout’, enter your password, and click ‘Complete’
Step 10: Click “Continue to Delete”, and this account will be deleted successfully.